Example Wine Cellar Projects in Bellevue

Each example follows a cellar from the first idea to the first bottles: the house, the space, the design, the cooling, how long it takes and roughly what it would cost. Most of the houses date from the 1950s to the 1980s, the decades in which more than half of Bellevue homes were built.

These are examples, not past jobs, clients or addresses. They are put together from local house ages, the work each kind of cellar usually needs and current price ranges, so you know what to expect before you ask for a quote.

Cooled wine wall in a 1970s kitchen remodel

Example project
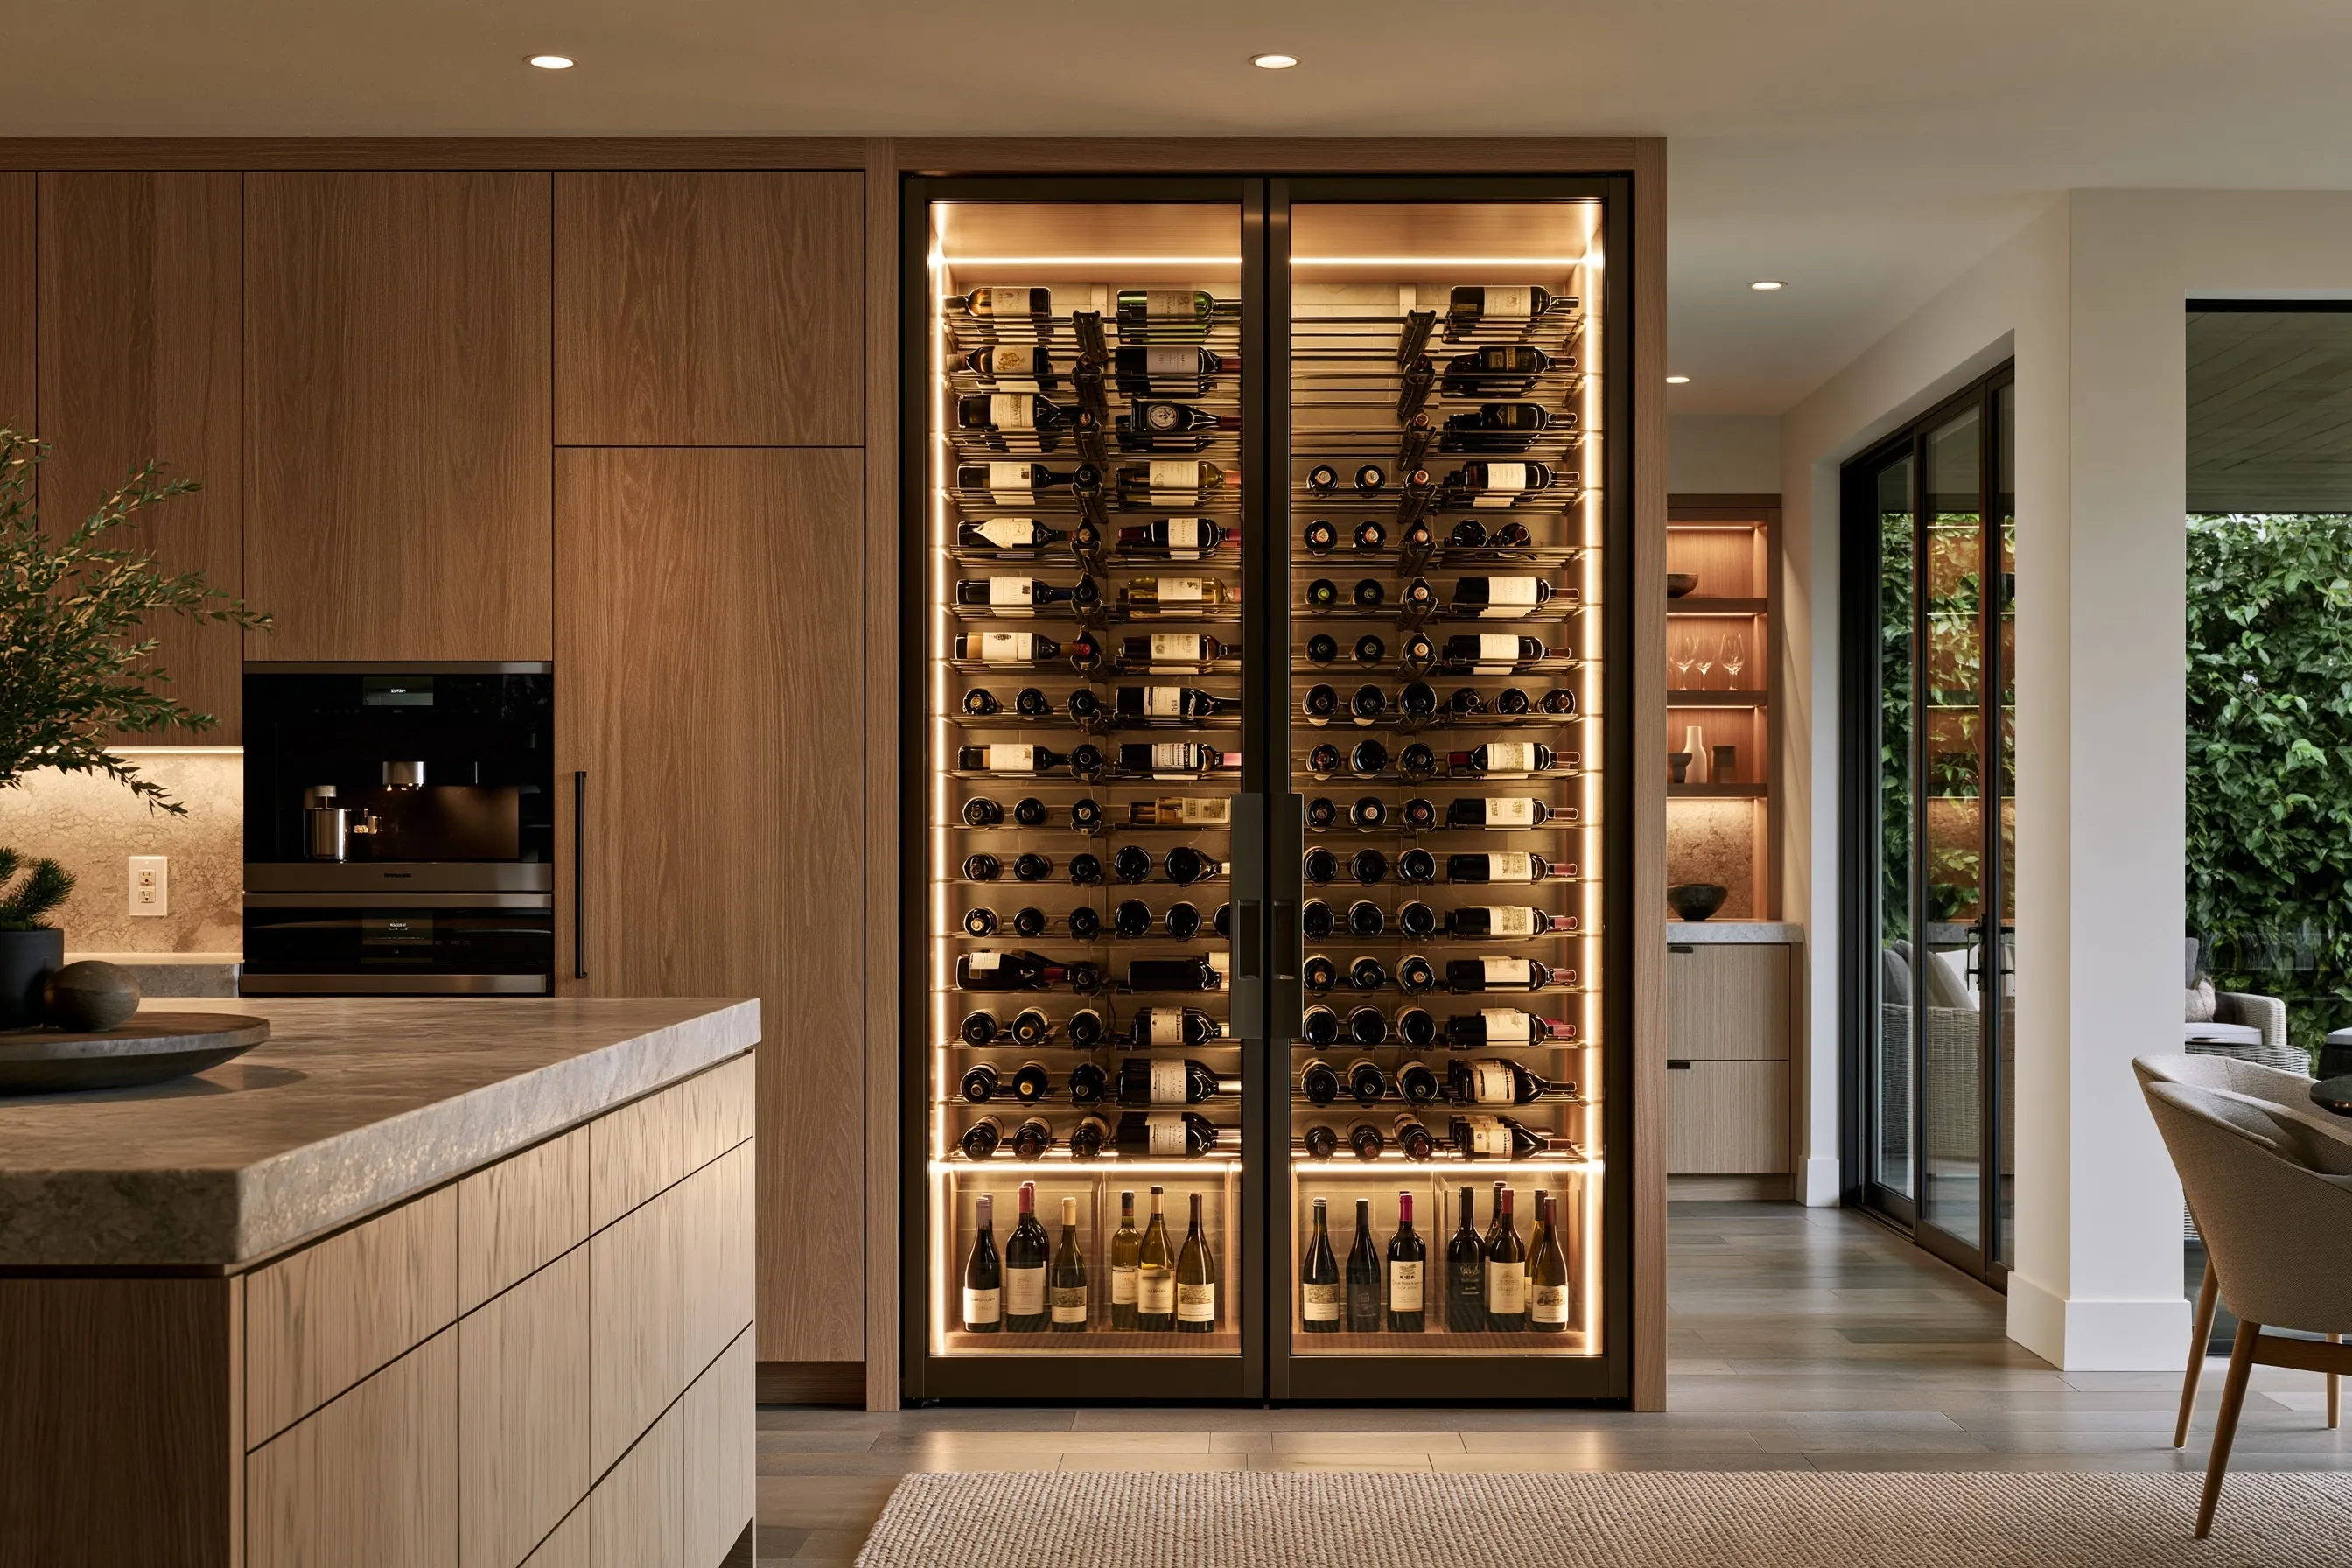
Floor-to-ceiling glass wine wall with lit metal racks set into oak kitchen cabinetry
Home
1970s two-story house, kitchen opened to the dining area in a remodel
Original request
Room for about 250 bottles where the old pantry was
Space
Former pantry wall beside the oven column, about 5 ft wide and full height
Design
Two insulated glass doors in a dark metal frame, label-forward metal racks, a lit shelf for standing bottles
Cooling
Small ducted unit in the garage, with its ducts hidden in the ceiling
Timeline
Eight to ten weeks from design to first bottles, about two weeks of it on site
Estimated cost
$27,500

Scope of work

Framing and insulating the old pantry, a vapor barrier on the warm side, an insulated glass door pair with seals, label-forward metal racking, low-heat LED strips, a ducted cooling unit in the garage with its own circuit and a drain, and cabinetry trim to match the kitchen.

Project overview

In this example, the owners are remodeling the kitchen of a 1970s house and want their wine on show instead of in boxes in the garage. The old pantry wall next to the oven column is the right size for a wine wall about five feet wide.

A wall like this is a small cellar, not a fridge. The cavity is insulated and sealed, the glass doors are insulated, and a cooling unit holds it near 55°F. Putting the cooling machine in the garage keeps its noise and warm air out of the kitchen, and the cabinetry is built around the frame so the wall reads as part of the room.

The goal

The goal is a wine wall that looks like part of the kitchen, keeps about 250 bottles near 55°F and stays quiet.

Process

  1. Design Bottle count, rack layout and door style settled; cooling sized for the glass and the oven next door.
  2. Ordering Glass doors and racking made to measure, usually the longest wait.
  3. Week one on site Pantry framed and insulated, vapor barrier, circuit and ducts run to the garage.
  4. Week two Racks, lighting and doors installed; cabinetry trim fitted.
  5. Start-up Cooling switched on and the temperature watched for a few days before the bottles go in.

Planning right

  • A wall oven next to a wine wall adds heat. Leave a gap and insulate between them.
  • Glass lets in far more heat than an insulated wall, so the cooling is sized for the doors, not just the space behind them.
  • Label-forward racks show more labels but hold fewer bottles per foot than stacked racks.
  • LED lights on a switch or timer keep light and heat off the wine when nobody is looking.
Request a free quoteMore about custom wine walls

Glass wine room along a living-room wall

Example project

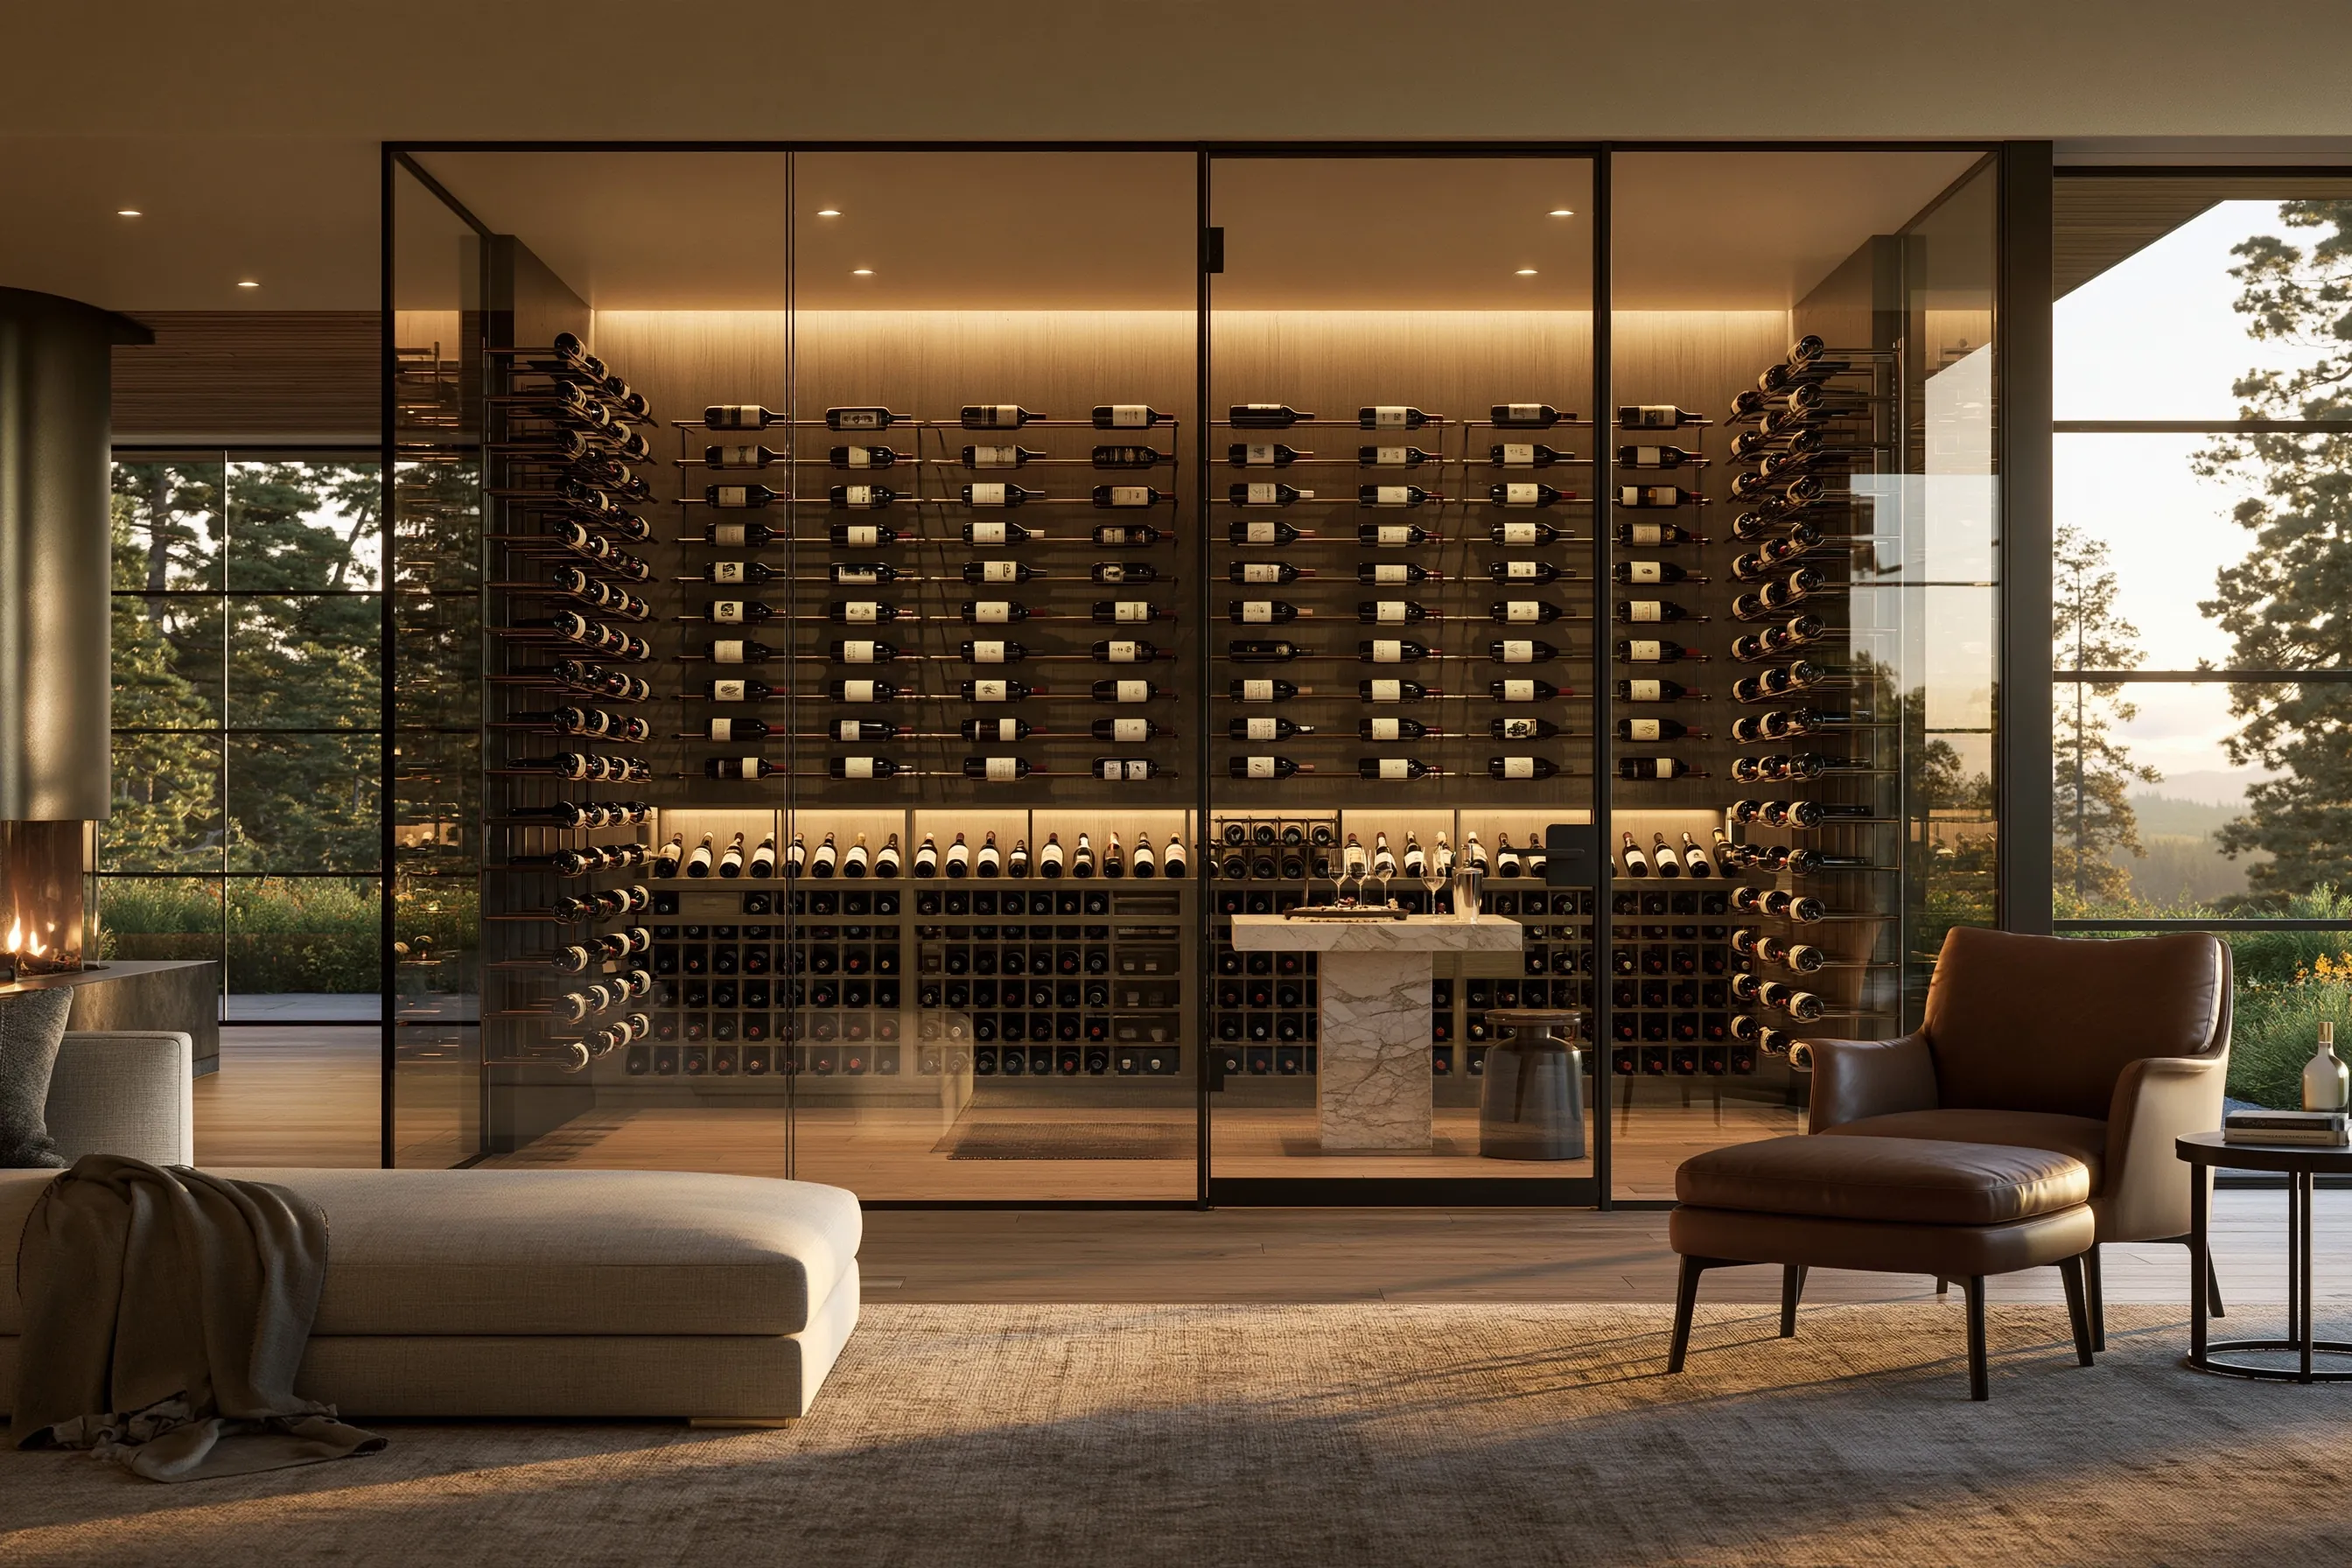
Glass wine room with black frames, lit racks and a stone tasting table along a living-room wall
Home
2010s house with a main-floor living room, tall windows and a fireplace
Original request
A wine room the family can see from the sofa, with a table for opening bottles
Space
Along the back wall, about 16 by 6 ft (about 100 sq ft)
Design
Black-framed insulated glass front and sides, peg racks on the side walls, lit racks and bins on the back wall, a stone tasting table
Capacity
About 700 bottles
Cooling
Split system, with the outdoor part beside the house
Timeline
Twelve to sixteen weeks from design to start-up, about four weeks of it on site
Estimated cost
$56,000

Scope of work

Framing the back wall and ceiling, insulation and a continuous vapor barrier, insulated glass panels and a sealed glass door, peg and bin racking, low-heat lighting, a split cooling system sized for the glass with its own circuit and a drain, flooring carried through from the living room, and a small stone tasting table.

Project overview

In this example, the owners of a 2010s house want their collection in the living room rather than in the garage. A glass room along the back wall keeps the view to the trees and puts the bottles on show.

Glass is the hard part. It lets in heat from the living room and the fireplace beside it, so the cooling is sized for the glass, and a split system puts the noisy part outside. The solid back wall and ceiling are insulated and sealed, and the glass is double-glazed with sealed edges so it does not fog on cold days.

The goal

The goal is a glass room the family sees every day, holding about 700 bottles at a steady temperature without fogged glass or a fan humming in the living room.

Process

  1. Design Room size, glass layout, racking and a heat-load check that counts the glass and the fireplace.
  2. Ordering Glass and racking made to measure, about six to eight weeks.
  3. Weeks one and two Framing, wiring, the route for the refrigerant lines, insulation and vapor barrier.
  4. Weeks three and four Split system set, glass and door installed, racking and lighting fitted.
  5. Start-up Cooling runs for a few days to settle near 55°F before the wine moves in.

Planning right

  • Afternoon sun on the glass can add a lot of heat. Check where the sun falls before choosing the wall.
  • A fireplace near the glass adds heat too. Keep them apart or allow for it in the cooling.
  • The outdoor part of a split system needs a spot where its noise will not bother anyone.
  • Seals on a glass door wear out. Check them every year.

Request a free quoteMore about glass wine rooms

Walk-in cellar on a 1960s lower floor

Example project

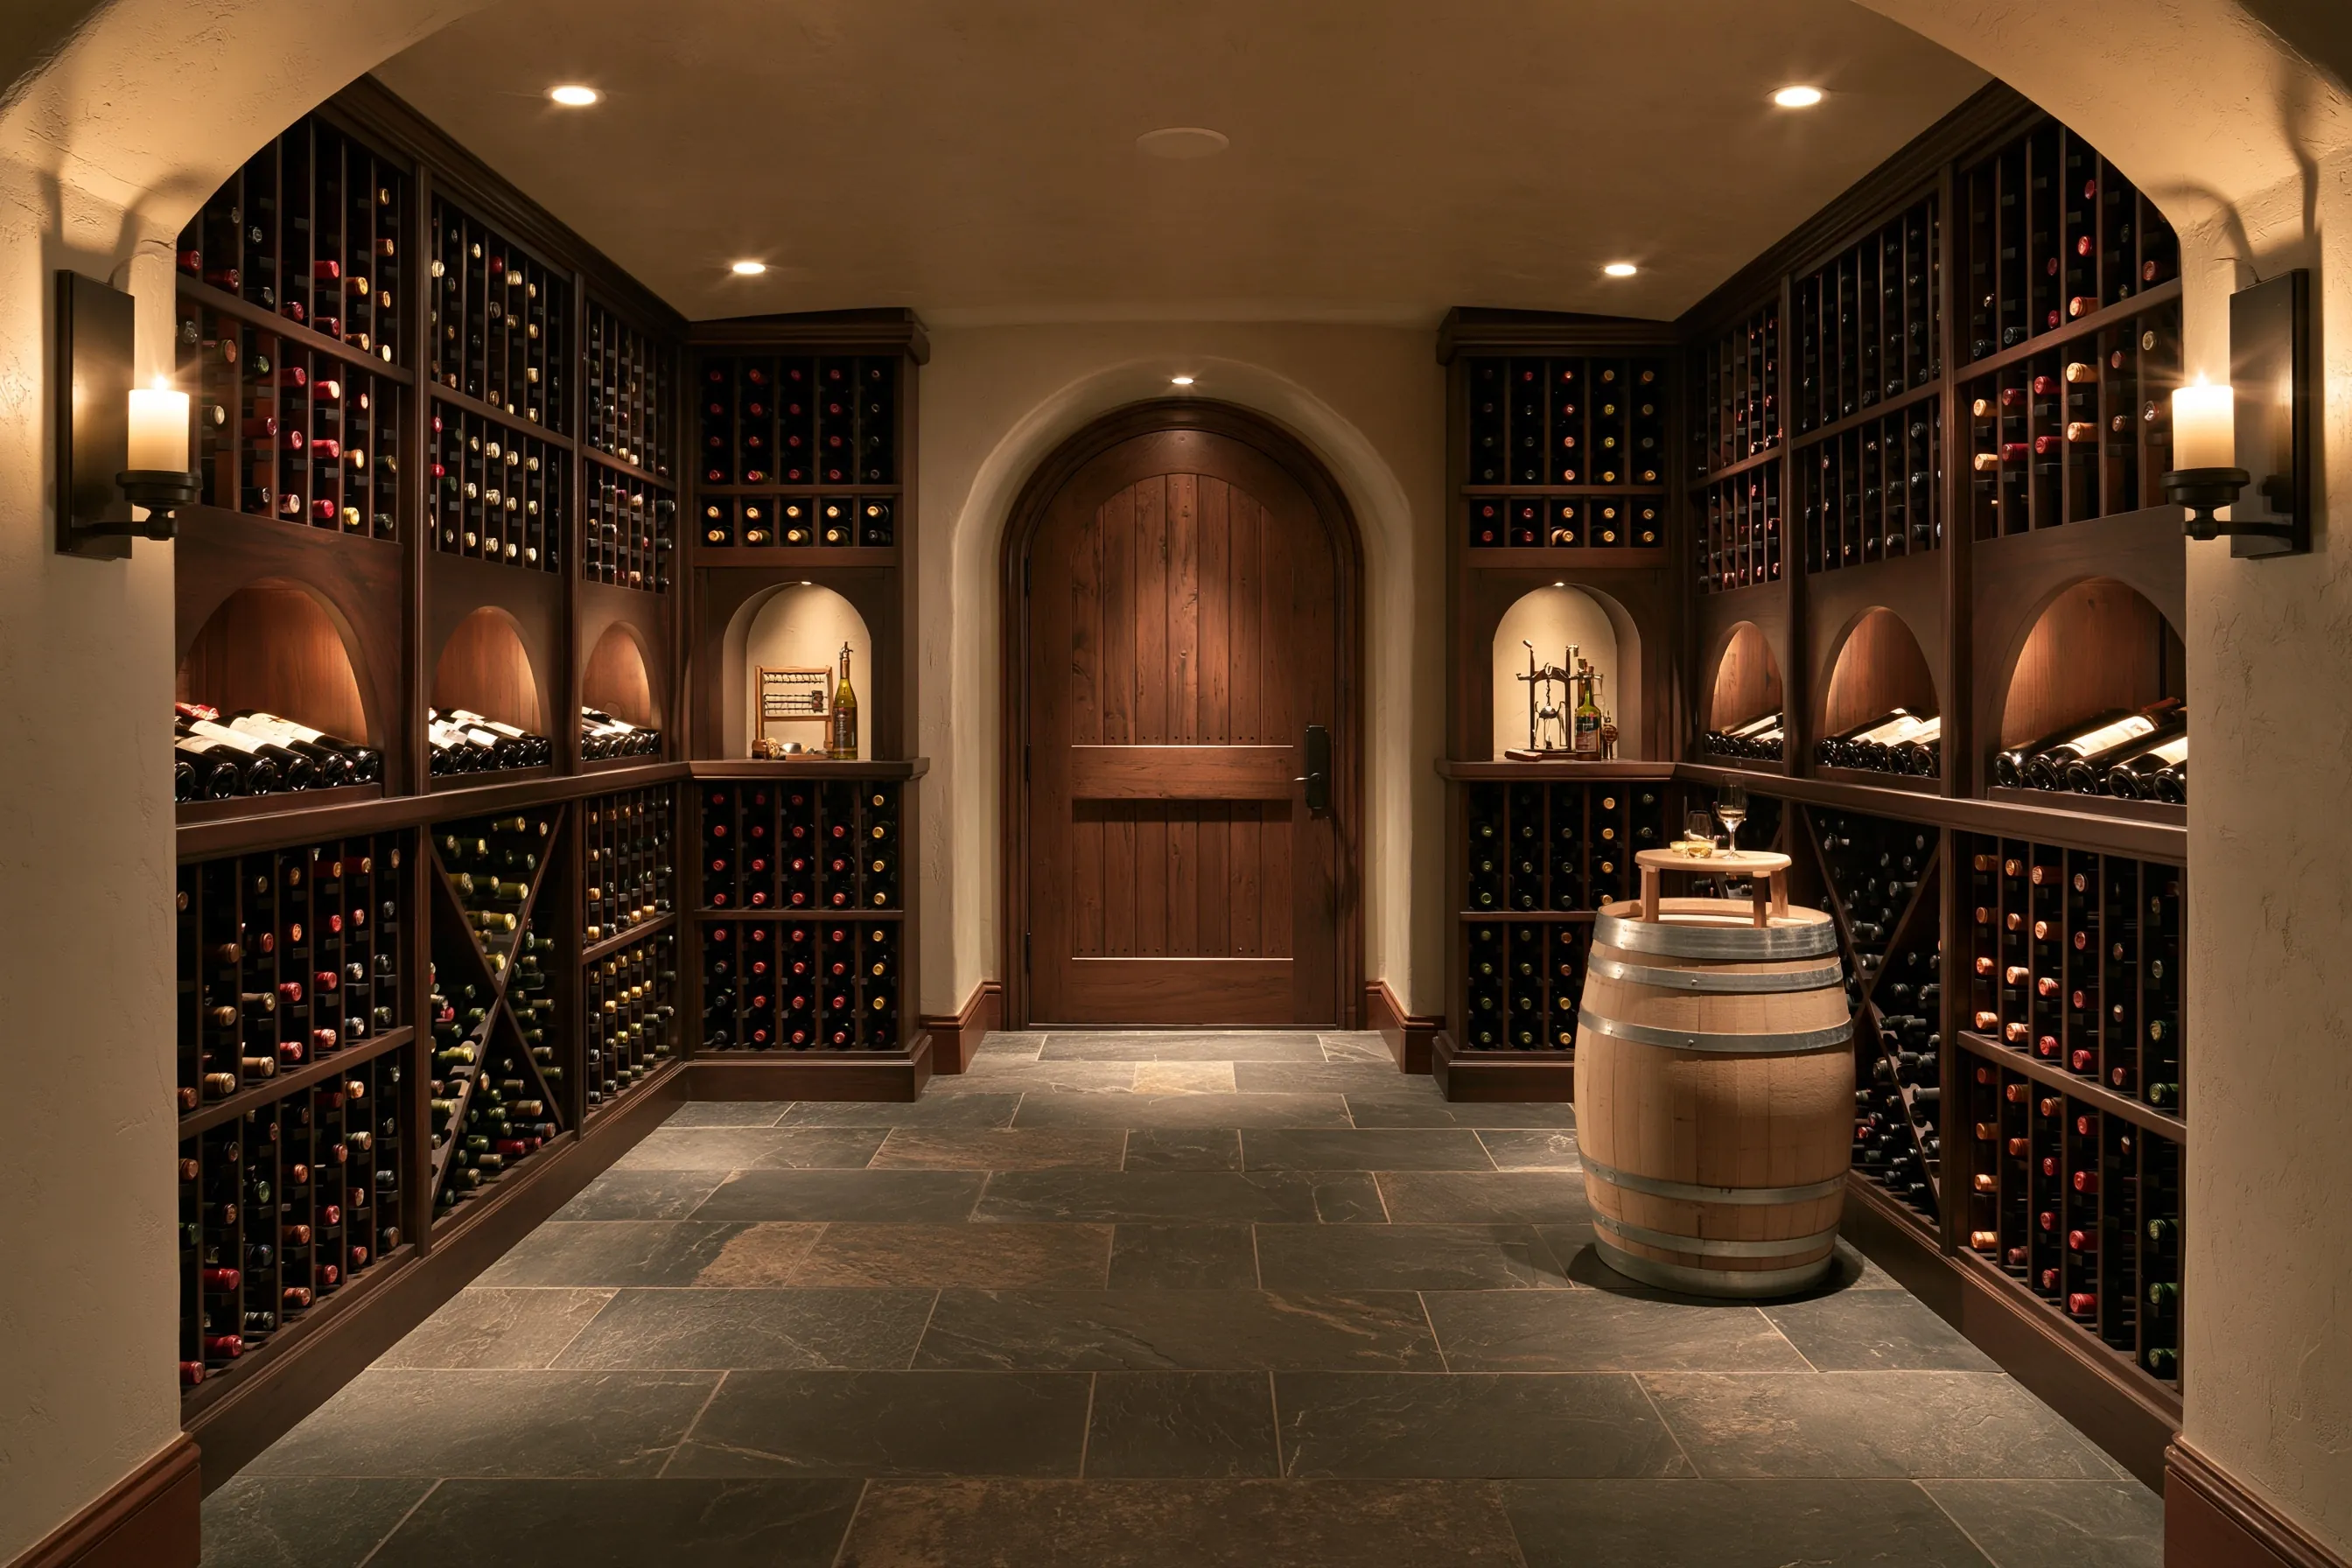
Lower-level walk-in cellar with arched niches, dark wood racks, a slate floor, an oak barrel and an arched plank door
Home
1960s house with a lower floor partly below ground
Original request
A traditional cellar with a barrel to stand and taste at
Space
Former storage room, about 9 by 13 ft (about 117 sq ft)
Design
Dark-stained racks with arched niches, a slate floor, an arched plank door and wall lights
Capacity
About 1,200 bottles
Cooling
Ducted system, with the machine in the room next door
Timeline
Fourteen to eighteen weeks from design to start-up, about five weeks of it on site
Estimated cost
$66,000

Scope of work

A moisture check of the foundation walls, framing set off the concrete, insulation and a vapor barrier, an insulated door that seals like an outside door, custom racking with arched niches, slate on a level base, low-heat lighting, and a ducted cooling system with its own circuit and a drain.

Project overview

In this example, the owners of a 1960s house turn a storage room on the lower floor into a walk-in cellar. Below ground the room already runs cooler than the rest of the house, but not cool or steady enough for long storage.

The first check is water. The foundation walls are tested for damp, and the cellar walls are framed a little away from the concrete, insulated and sealed, so moisture from the ground cannot reach the racks. A ducted system then holds the room near 55°F with its machine in the room next door, out of earshot.

The goal

The goal is a quiet, dark cellar near 55°F, with room for about 1,200 bottles and a barrel to taste at.

Process

  1. Before design Moisture readings on the foundation walls and a look at the drainage outside.
  2. Design Rack layout with niches, the door, the floor and cooling sized to the room.
  3. Weeks one and two Framing off the walls, wiring, ducts, insulation and vapor barrier.
  4. Weeks three and four Wall finish, slate floor and door.
  5. Week five Racking, lighting and start-up.

Planning right

  • If the foundation walls are damp, fix the drainage first. No cellar build fixes a wet wall.
  • Slate and stone floors stay cool and look right, but need a flat, solid base.
  • Racks with arches and niches take longer to build than straight runs and cost more per bottle.
  • A cellar door should seal like an outside door, with weatherstripping and a threshold.

Request a free quoteMore about basement wine cellars

Glass-fronted cellar under an open oak stair

Example project

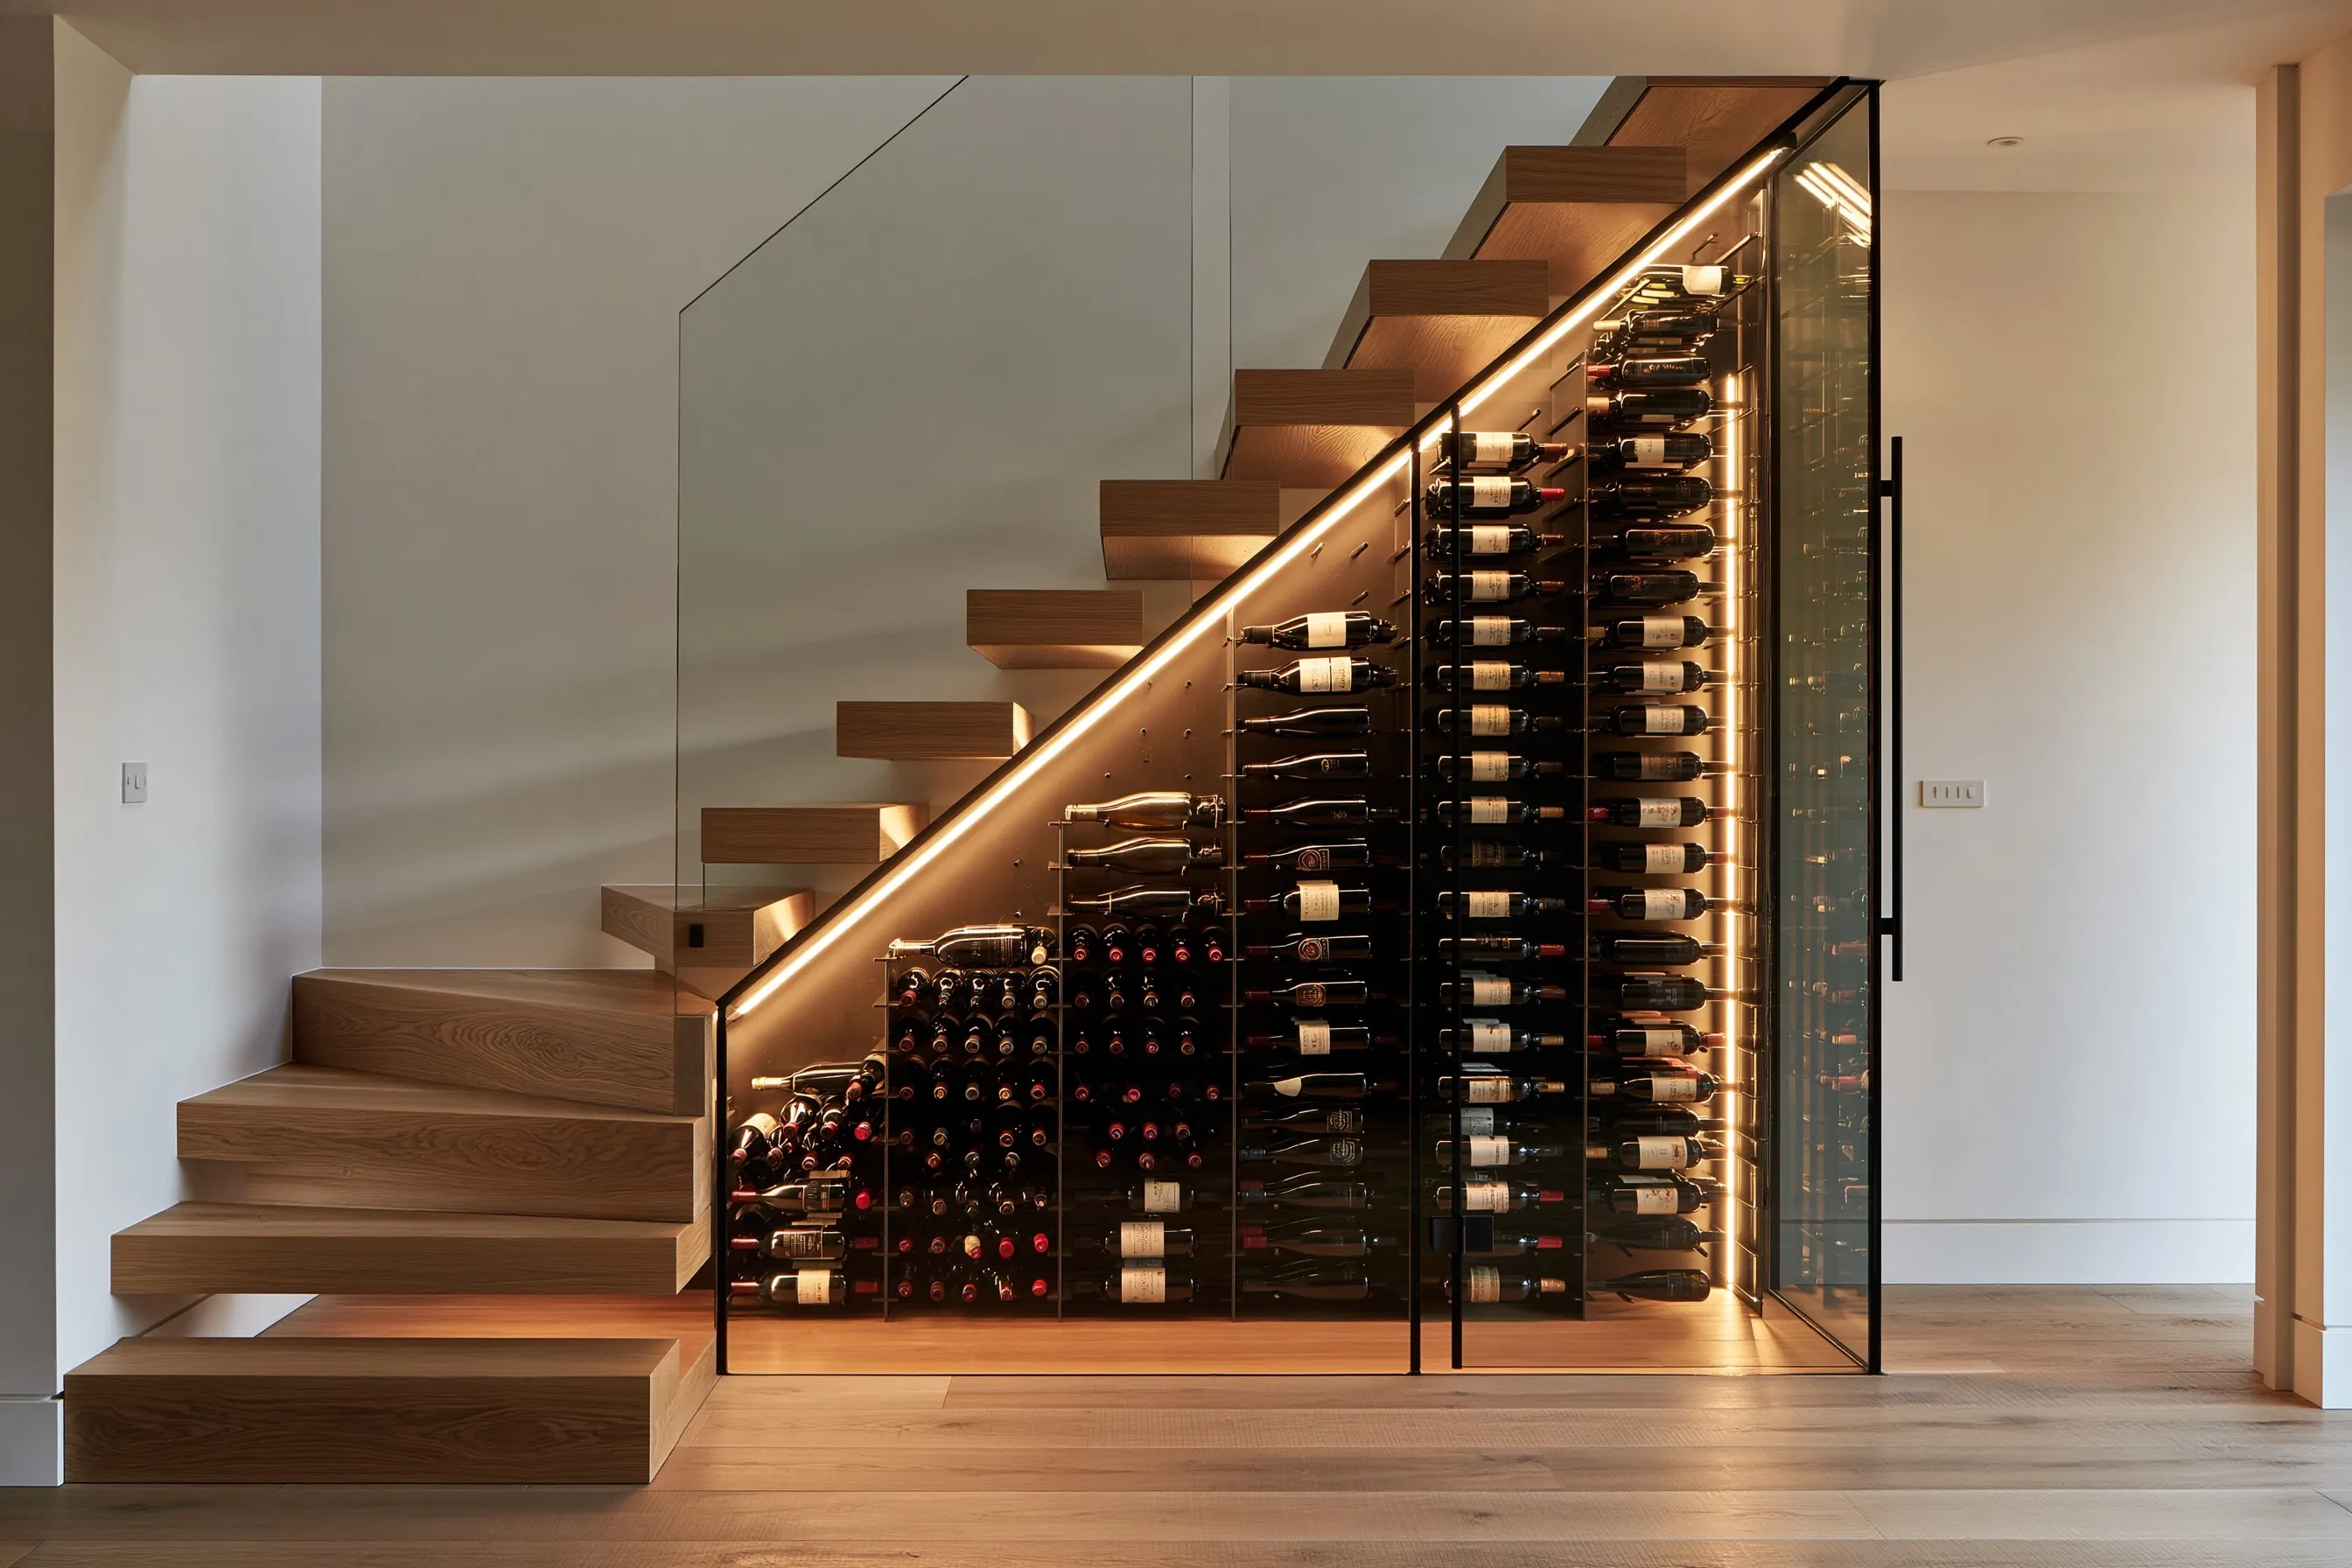
Glass-enclosed wine cellar under a floating oak staircase, with metal peg racks and a light strip along the stair
Home
2010s house with an open oak staircase
Original request
Use the space under the stair for about 250 bottles
Space
The triangle under the stair, about 11 ft long
Design
Frameless glass front and door with a long bar handle, black metal peg racks, a light strip along the stair
Capacity
About 250 bottles
Cooling
Small ducted unit, with its machine in the garage
Timeline
Six weeks of design and ordering, then about three weeks on site
Estimated cost
$23,500

Scope of work

Sealing and insulating the back wall and floor, a glass front and top cut to the stair angle, a glass door with seals, black metal peg racks in rows that step down with the stair, a low-heat light strip, and a small ducted cooling unit with its machine in the garage, its own circuit and a drain.

Project overview

In this example, the owners of a 2010s house have an open oak stair with an empty triangle beneath it. They want their wine there, on show from the living area, without a cabinet that hides the stair.

A glass box under a stair is a cellar with a lot of glass for its size, so heat gain decides the cooling. A small ducted unit keeps the machine and its noise in the garage, and the racks step down with the stair so no corner is wasted.

The goal

The goal is a lit glass cellar that fits the stair exactly, holds about 250 bottles near 55°F and leaves the stair as the feature.

Process

  1. Design Measured drawing of the stair, rack layout and a heat-load check for the glass.
  2. Ordering Glass cut to the stair angle, about five to six weeks.
  3. Week one Back wall sealed and insulated; wiring, ducts and the drain run.
  4. Week two Racks and lighting installed.
  5. Week three Glass and door fitted, cooling started and the temperature checked for a few days.

Planning right

  • Glass for a stair is cut to its angle. Measure the finished stair, not the drawings.
  • Use low-heat light strips, so the lighting does not warm the bottles.
  • Open racks with no cooling cost far less, but suit only wine you plan to drink within a year or so.
  • Plan a door that opens without hitting the bottom step.

Request a free quoteMore about under-stair wine cellars

Hall closet turned wine closet in a 1950s house

Example project

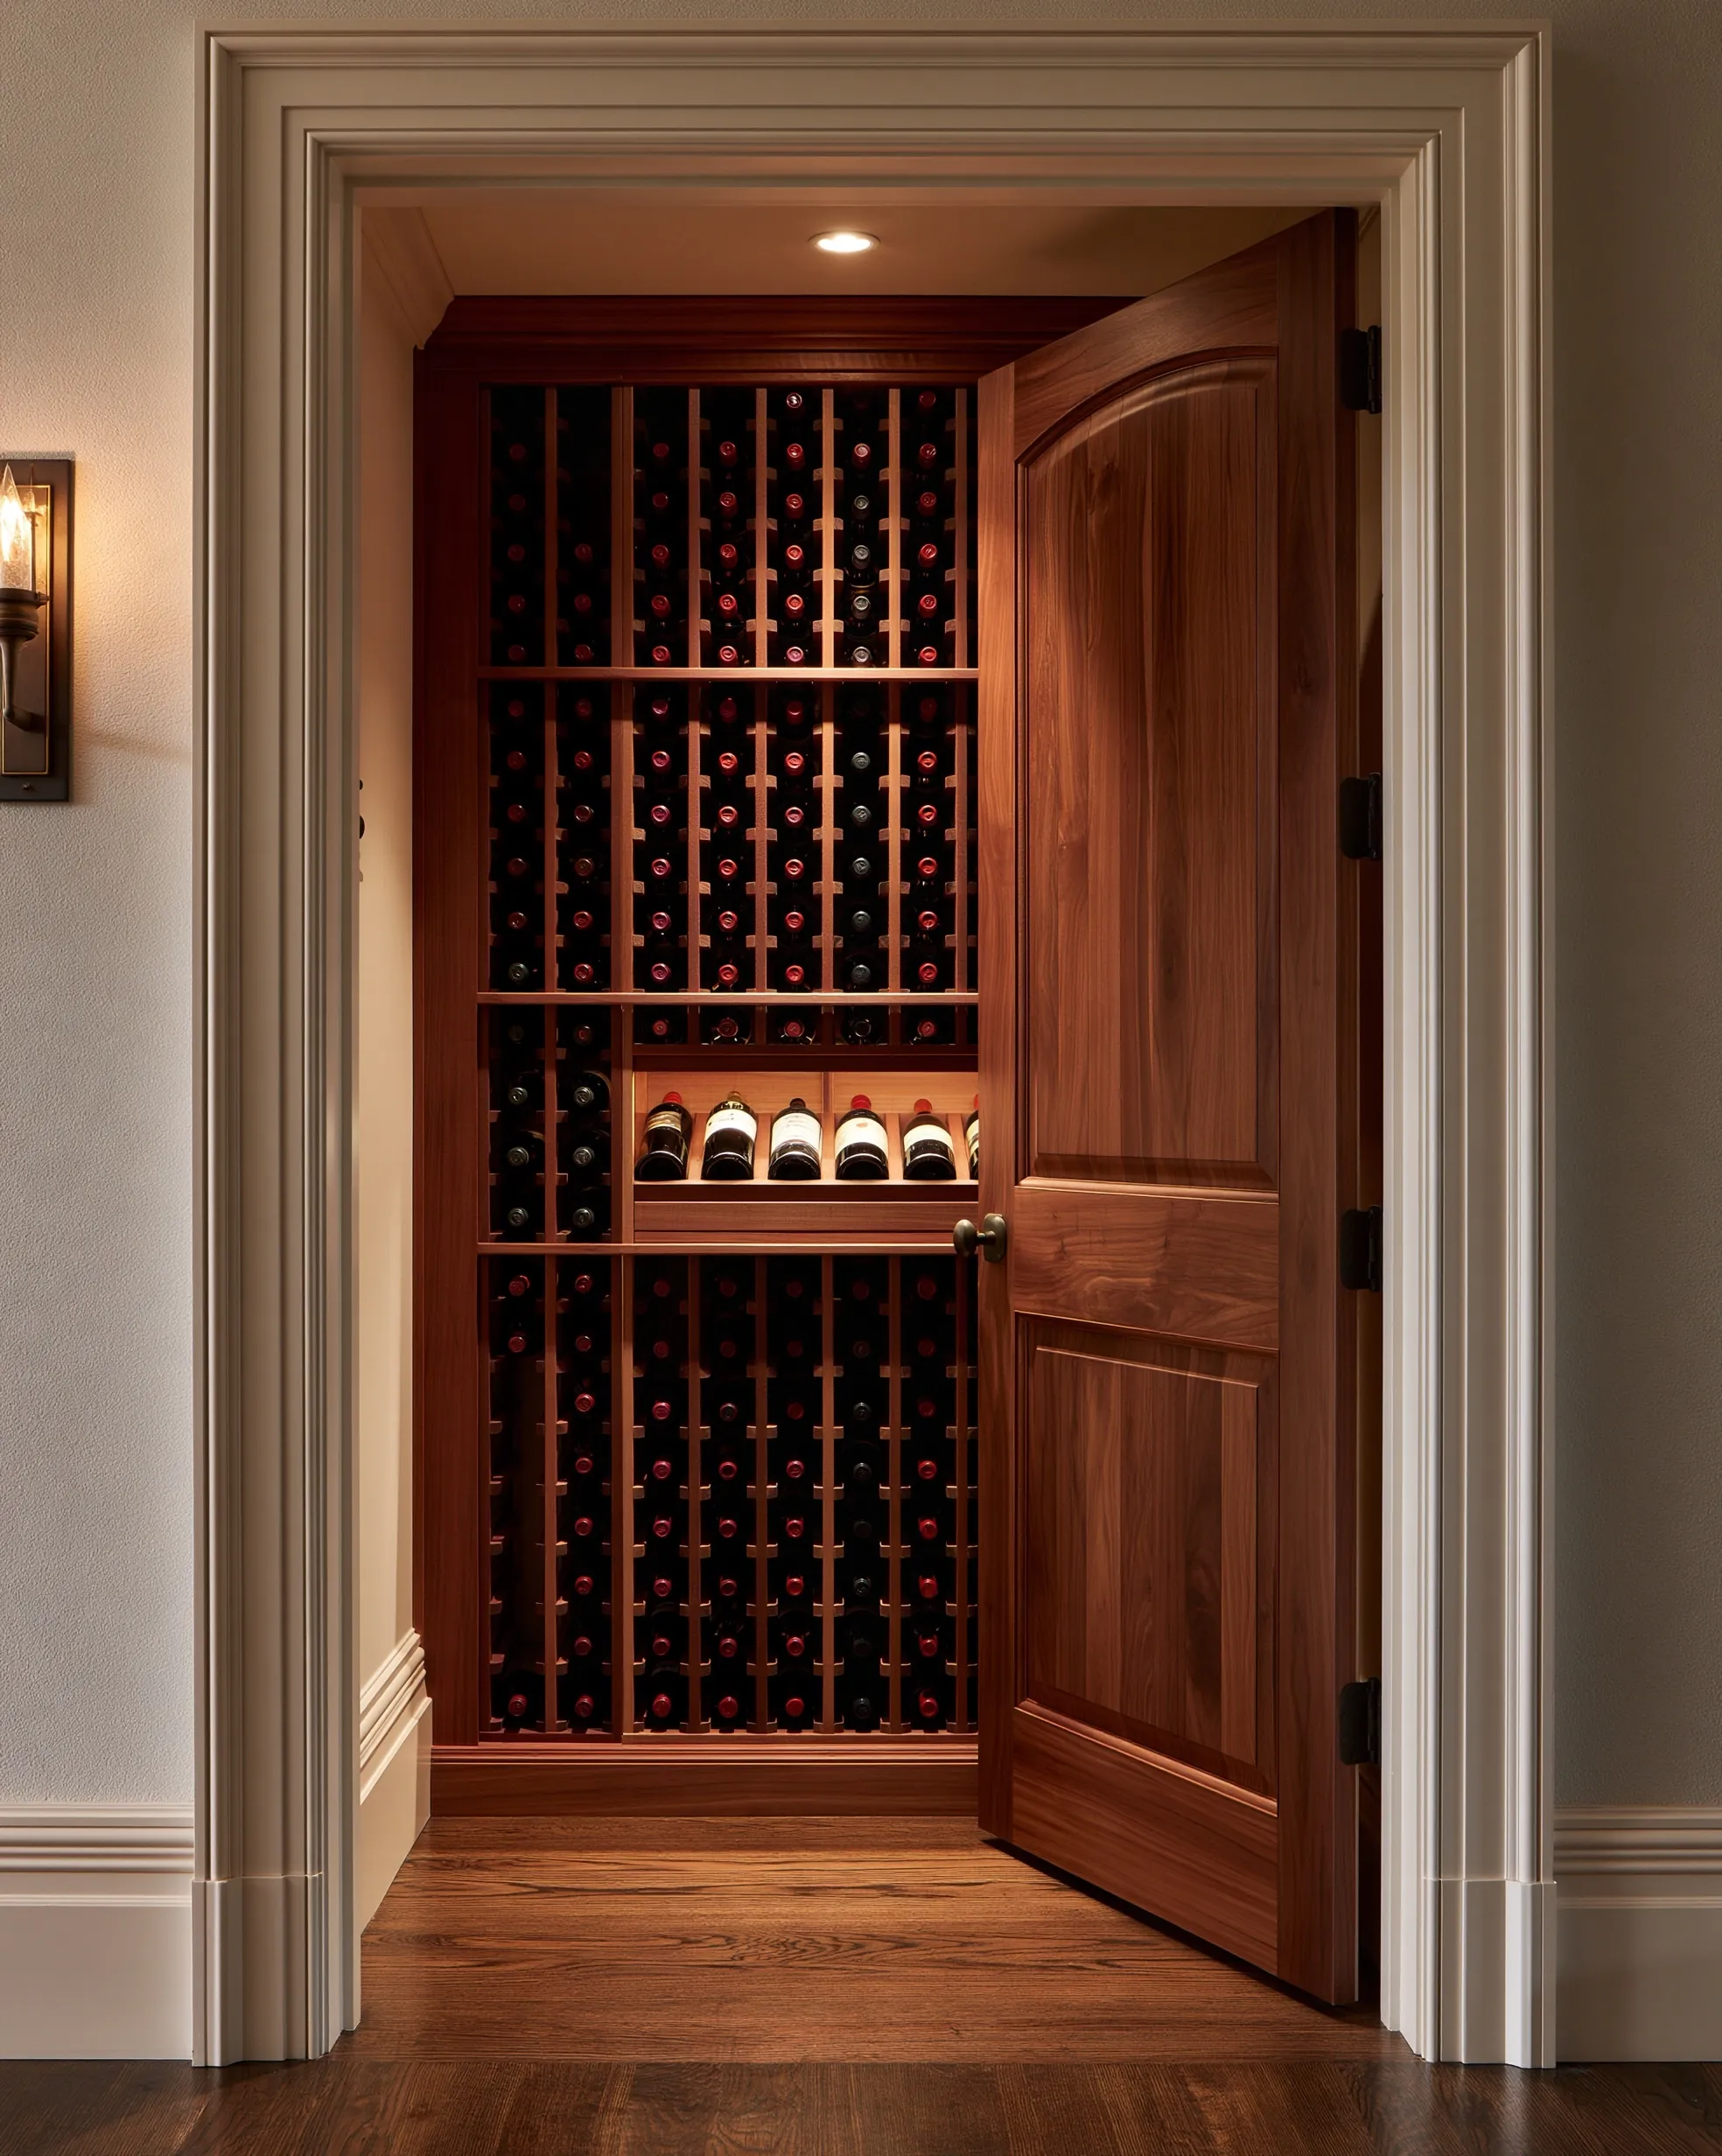
Reach-in closet lined with reddish wood bottle racks behind an open wood door
Home
1950s single-story house, remodeled inside
Original request
Turn an unused hall closet into a cooled wine closet
Space
Hall closet about 4 ft wide and 3 ft deep, backing onto the garage
Design
Stained wood racks with single-bottle slots, a display shelf at waist height, a solid wood door with weatherstripping
Capacity
About 200 bottles
Cooling
Through-the-wall unit venting into the garage
Timeline
About two weeks on site
Estimated cost
$12,800

Scope of work

Insulation and a vapor barrier in the walls and ceiling, a solid door fitted with weatherstripping and a threshold, a through-the-wall cooling unit on its own circuit venting into the garage, stained wood racking with single slots and a display shelf, a low-heat ceiling light and paint.

Project overview

In this example, a 1950s house has a hall closet backing onto the garage. It is too small to walk into, but a closet that size holds about 200 bottles in single slots.

Most of the work is in the shell. The walls and ceiling are insulated and sealed, and the hollow door is swapped for a solid one that seals like an outside door. The garage behind the closet gives the through-the-wall unit a place to send its warm air.

The goal

The goal is a closet that keeps about 200 bottles near 55°F, behind a door that matches the rest of the house.

Process

  1. Design Closet measured, racks drawn and the cooling unit chosen for the garage it vents into.
  2. Week one Shelves and trim out, wiring and the wall opening for the unit, insulation, vapor barrier and drywall.
  3. Week two Racks, light, door and unit installed; paint and start-up.
  4. First days Temperature watched before the bottles go in.

Planning right

  • A through-the-wall unit needs a room behind it that can take its warm air, such as a garage or a large room.
  • The door matters as much as the walls. A hollow door with gaps lets the cool air out.
  • Single-bottle slots hold every bottle shape, but fewer bottles than stacked bins.
  • Keep the space in front of the cooling unit clear, or it will run without stopping.

Request a free quoteMore about closet wine cellar conversions

Ducted cooling for an existing walk-in cellar

Example project

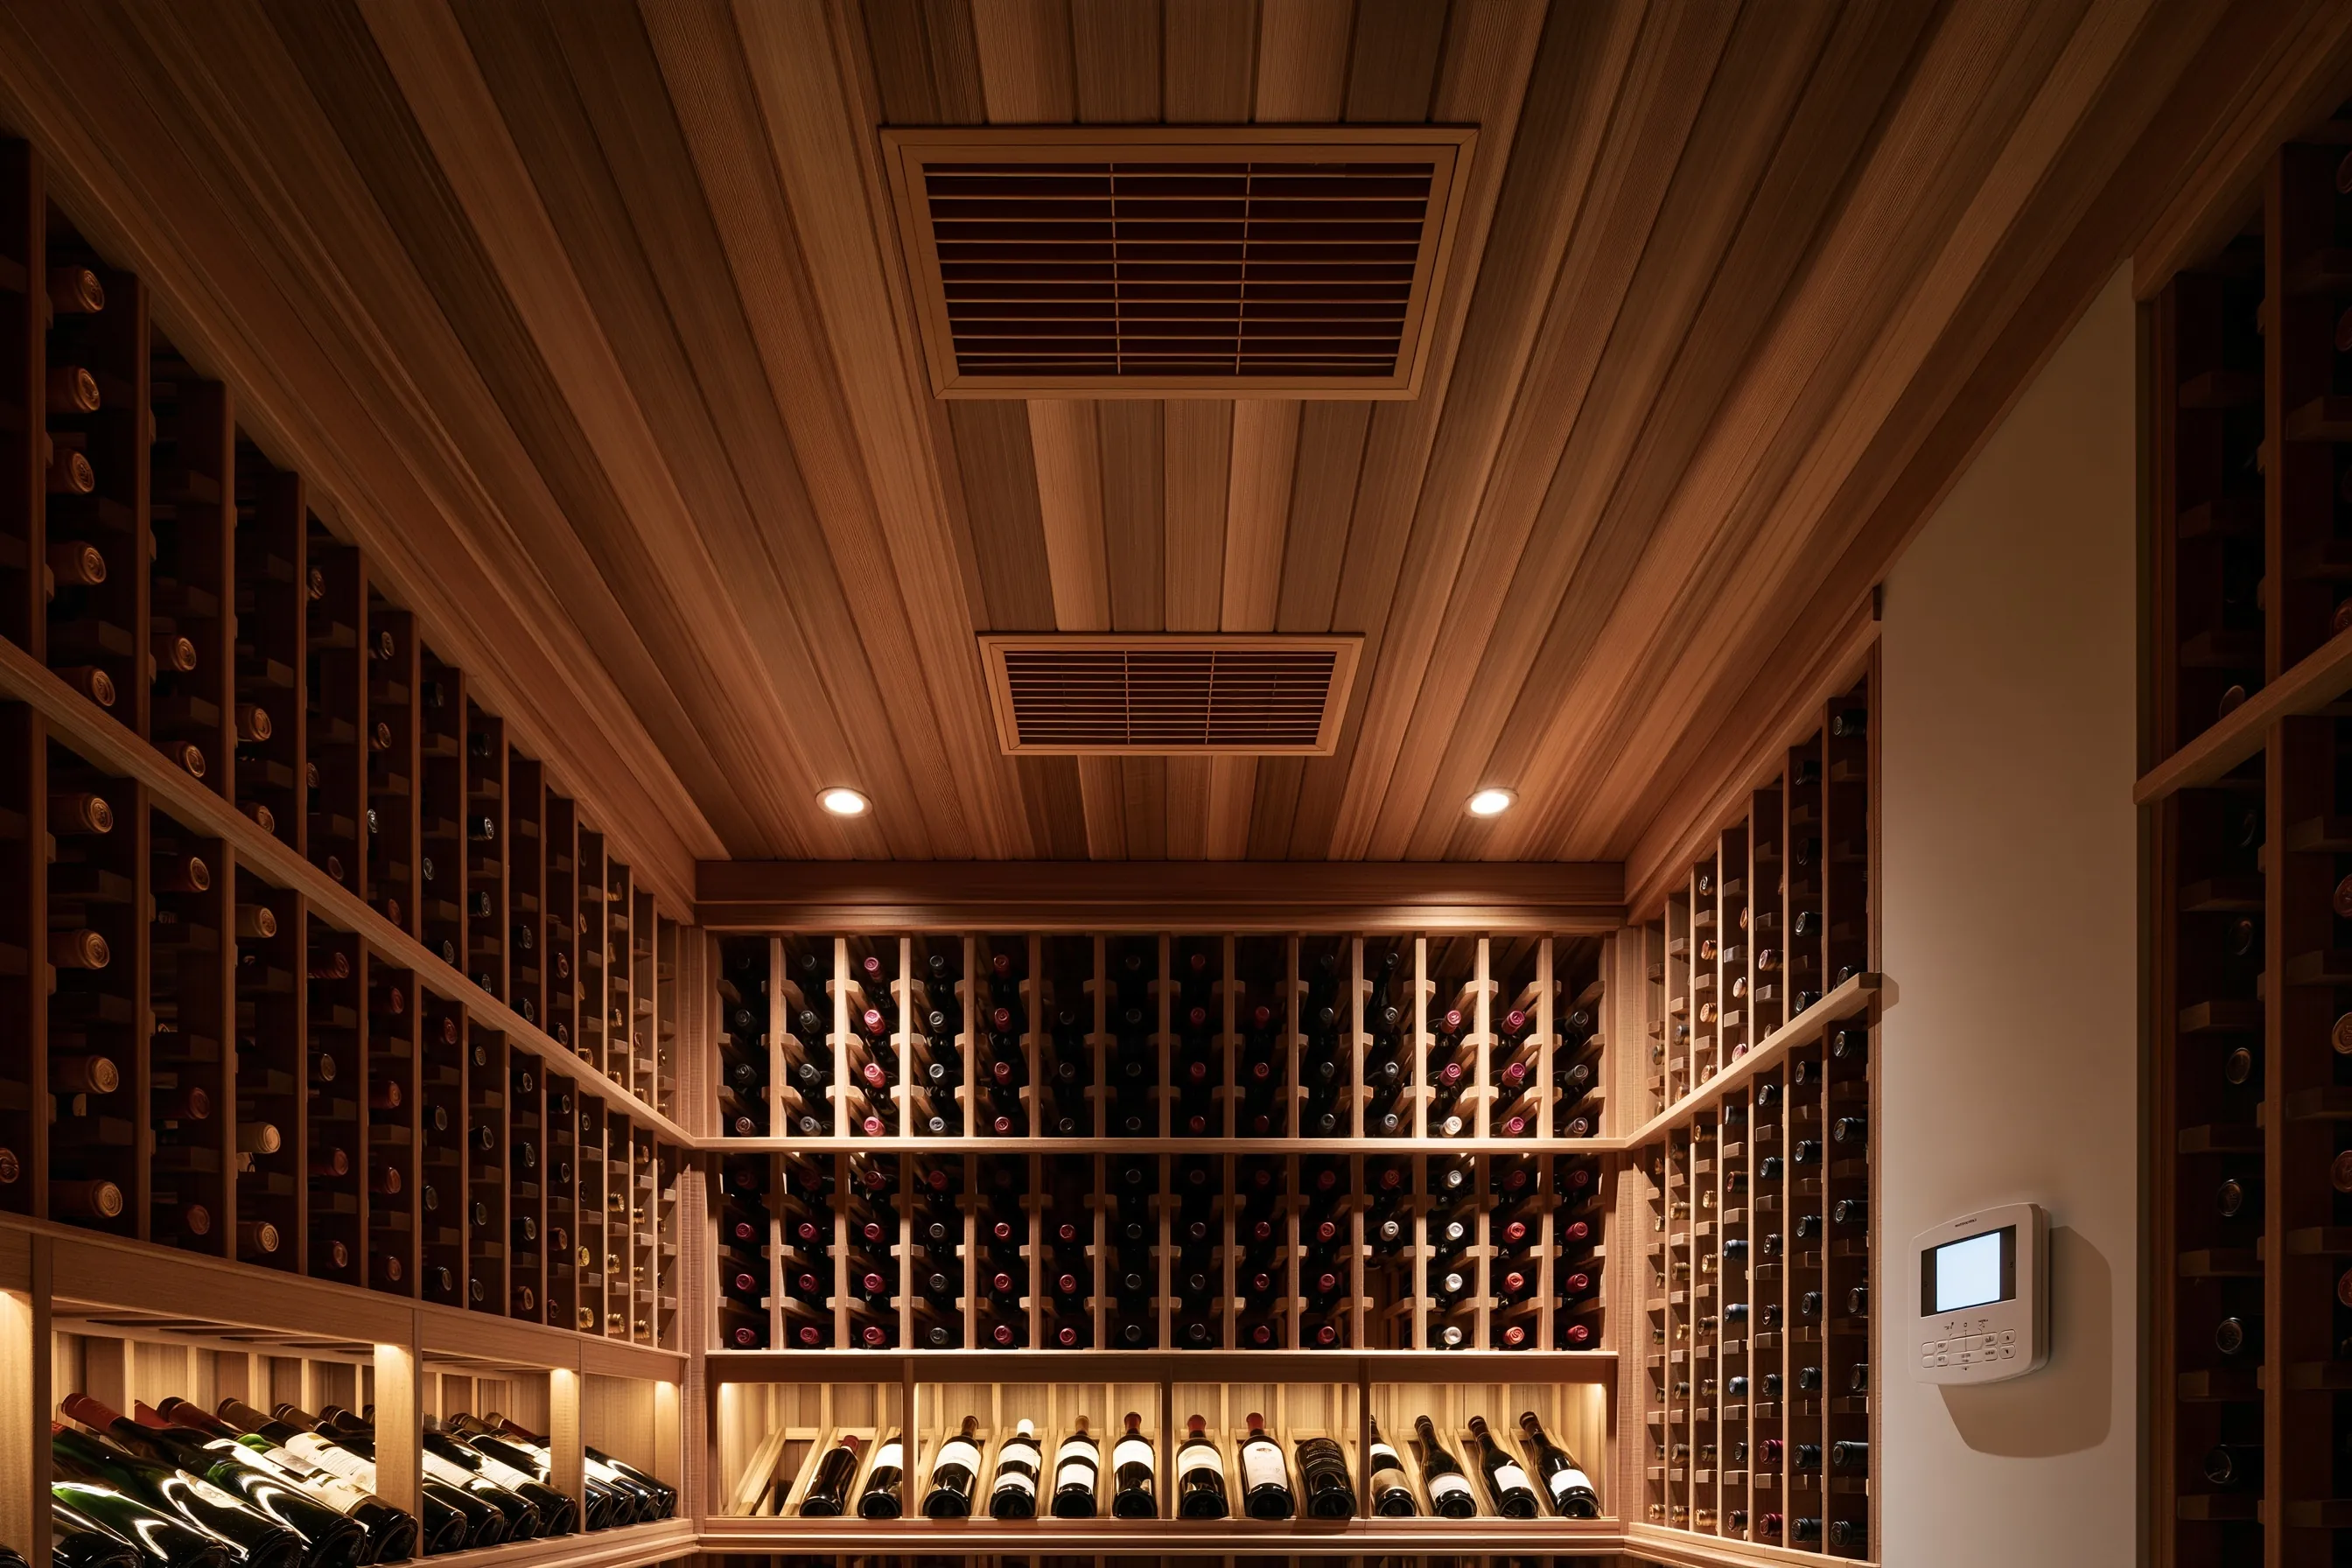
Wood-lined walk-in cellar with two ceiling grilles for cooling and a control panel on the wall
Home
1980s house with a wood-lined walk-in cellar
Original request
Replace a loud through-the-wall unit that ran all day
Space
Walk-in cellar, about 10 by 12 ft
Design
Ducted system with two ceiling grilles and a wall control
Timeline
Three to four days on site
Estimated cost
$11,400

Scope of work

Removing the old through-the-wall unit and closing its wall opening, a ducted cooling unit in the utility room next door, supply and return ducts to two ceiling grilles, its own circuit, a drain, a wall control, and a start-up check that the room holds about 55°F.

Project overview

In this example, a 1980s house has a wood-lined walk-in cellar cooled by a through-the-wall unit. The unit is loud, runs most of the day and blows warm air into the family room behind it.

A ducted system moves the machine to the utility room and brings cold air in through two ceiling grilles. Before choosing it, the cellar is checked again, because a unit that never stops is often too small or fighting gaps around the door and walls.

The goal

The goal is a cellar that holds about 55°F quietly, with no warm air or fan noise in the family room.

Process

  1. First visit Heat-load check, door seals and insulation looked at, and a route for the ducts found.
  2. Day one Old unit out, the wall opening closed and insulated.
  3. Day two New unit set in the utility room, ducts run to the ceiling grilles.
  4. Day three Circuit, drain and wall control connected; start-up.
  5. Following week Temperature and humidity checked once the room has settled.

Planning right

  • A unit that runs nonstop may be too small, or the door seals may be leaking. Check both before replacing it.
  • Ducted and split systems are quieter in the cellar because the machine sits somewhere else.
  • Every unit makes water. Plan where the drain goes before the unit is chosen.
  • A new unit can run almost nonstop for the first days while it cools the room down. That is normal.

Request a free quoteMore about wine cellar cooling systems

More wine cellar designs

Concept images of wine rooms, racking, doors and lighting, for choosing a direction before we look at your space.

Wine rooms and glass enclosures

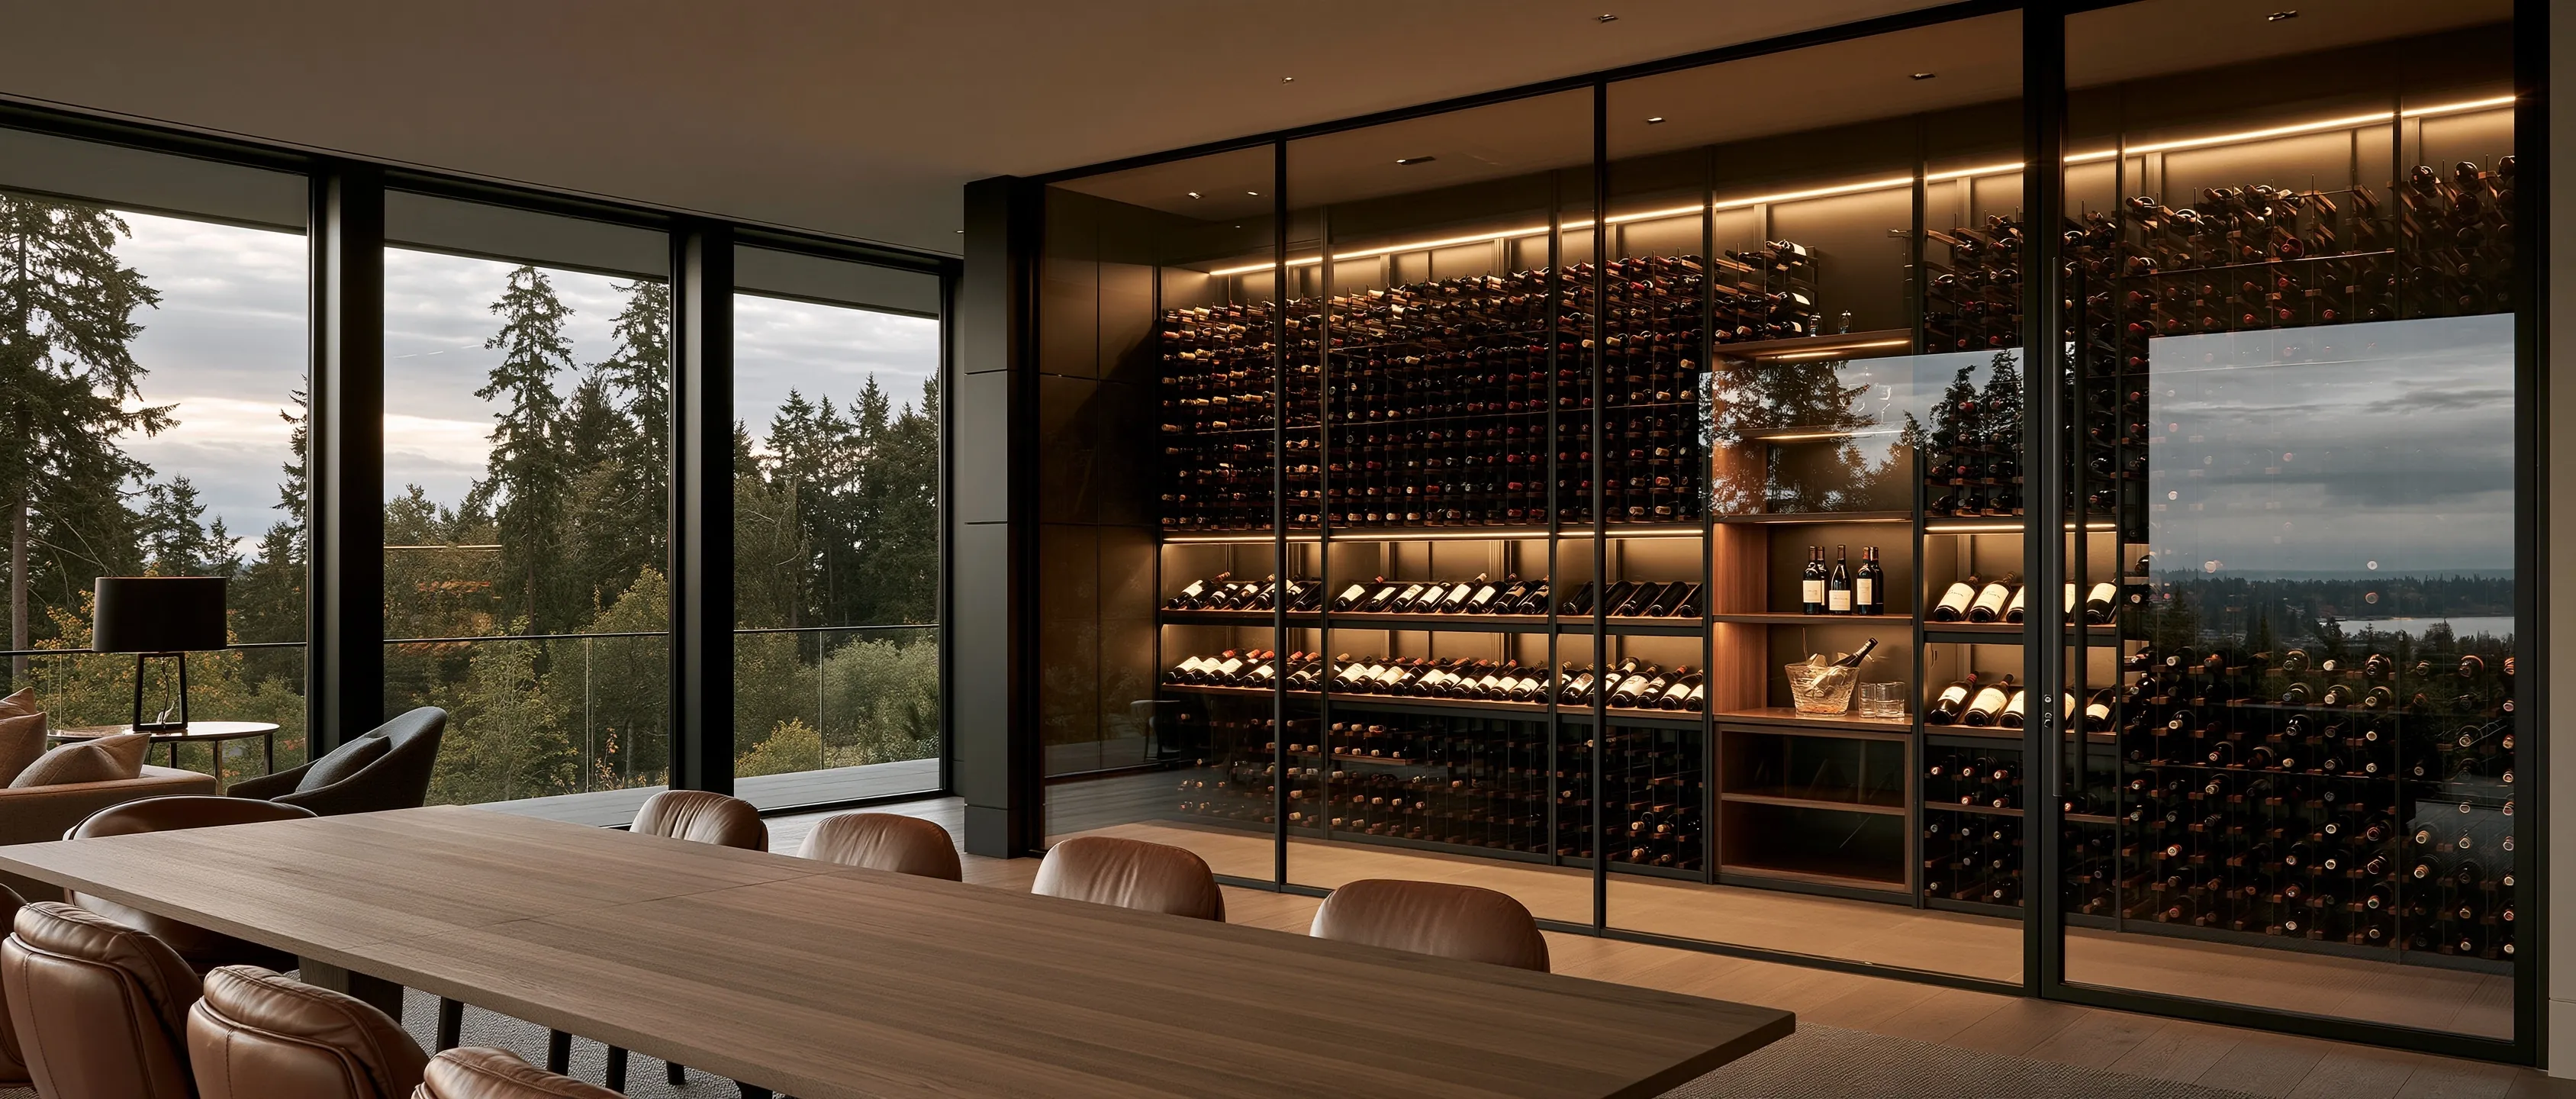
Glass-walled wine room with lit bottle racks beside a long dining table, evergreens and a lake view through floor-to-ceiling windows
Glass wine room beside a dining table
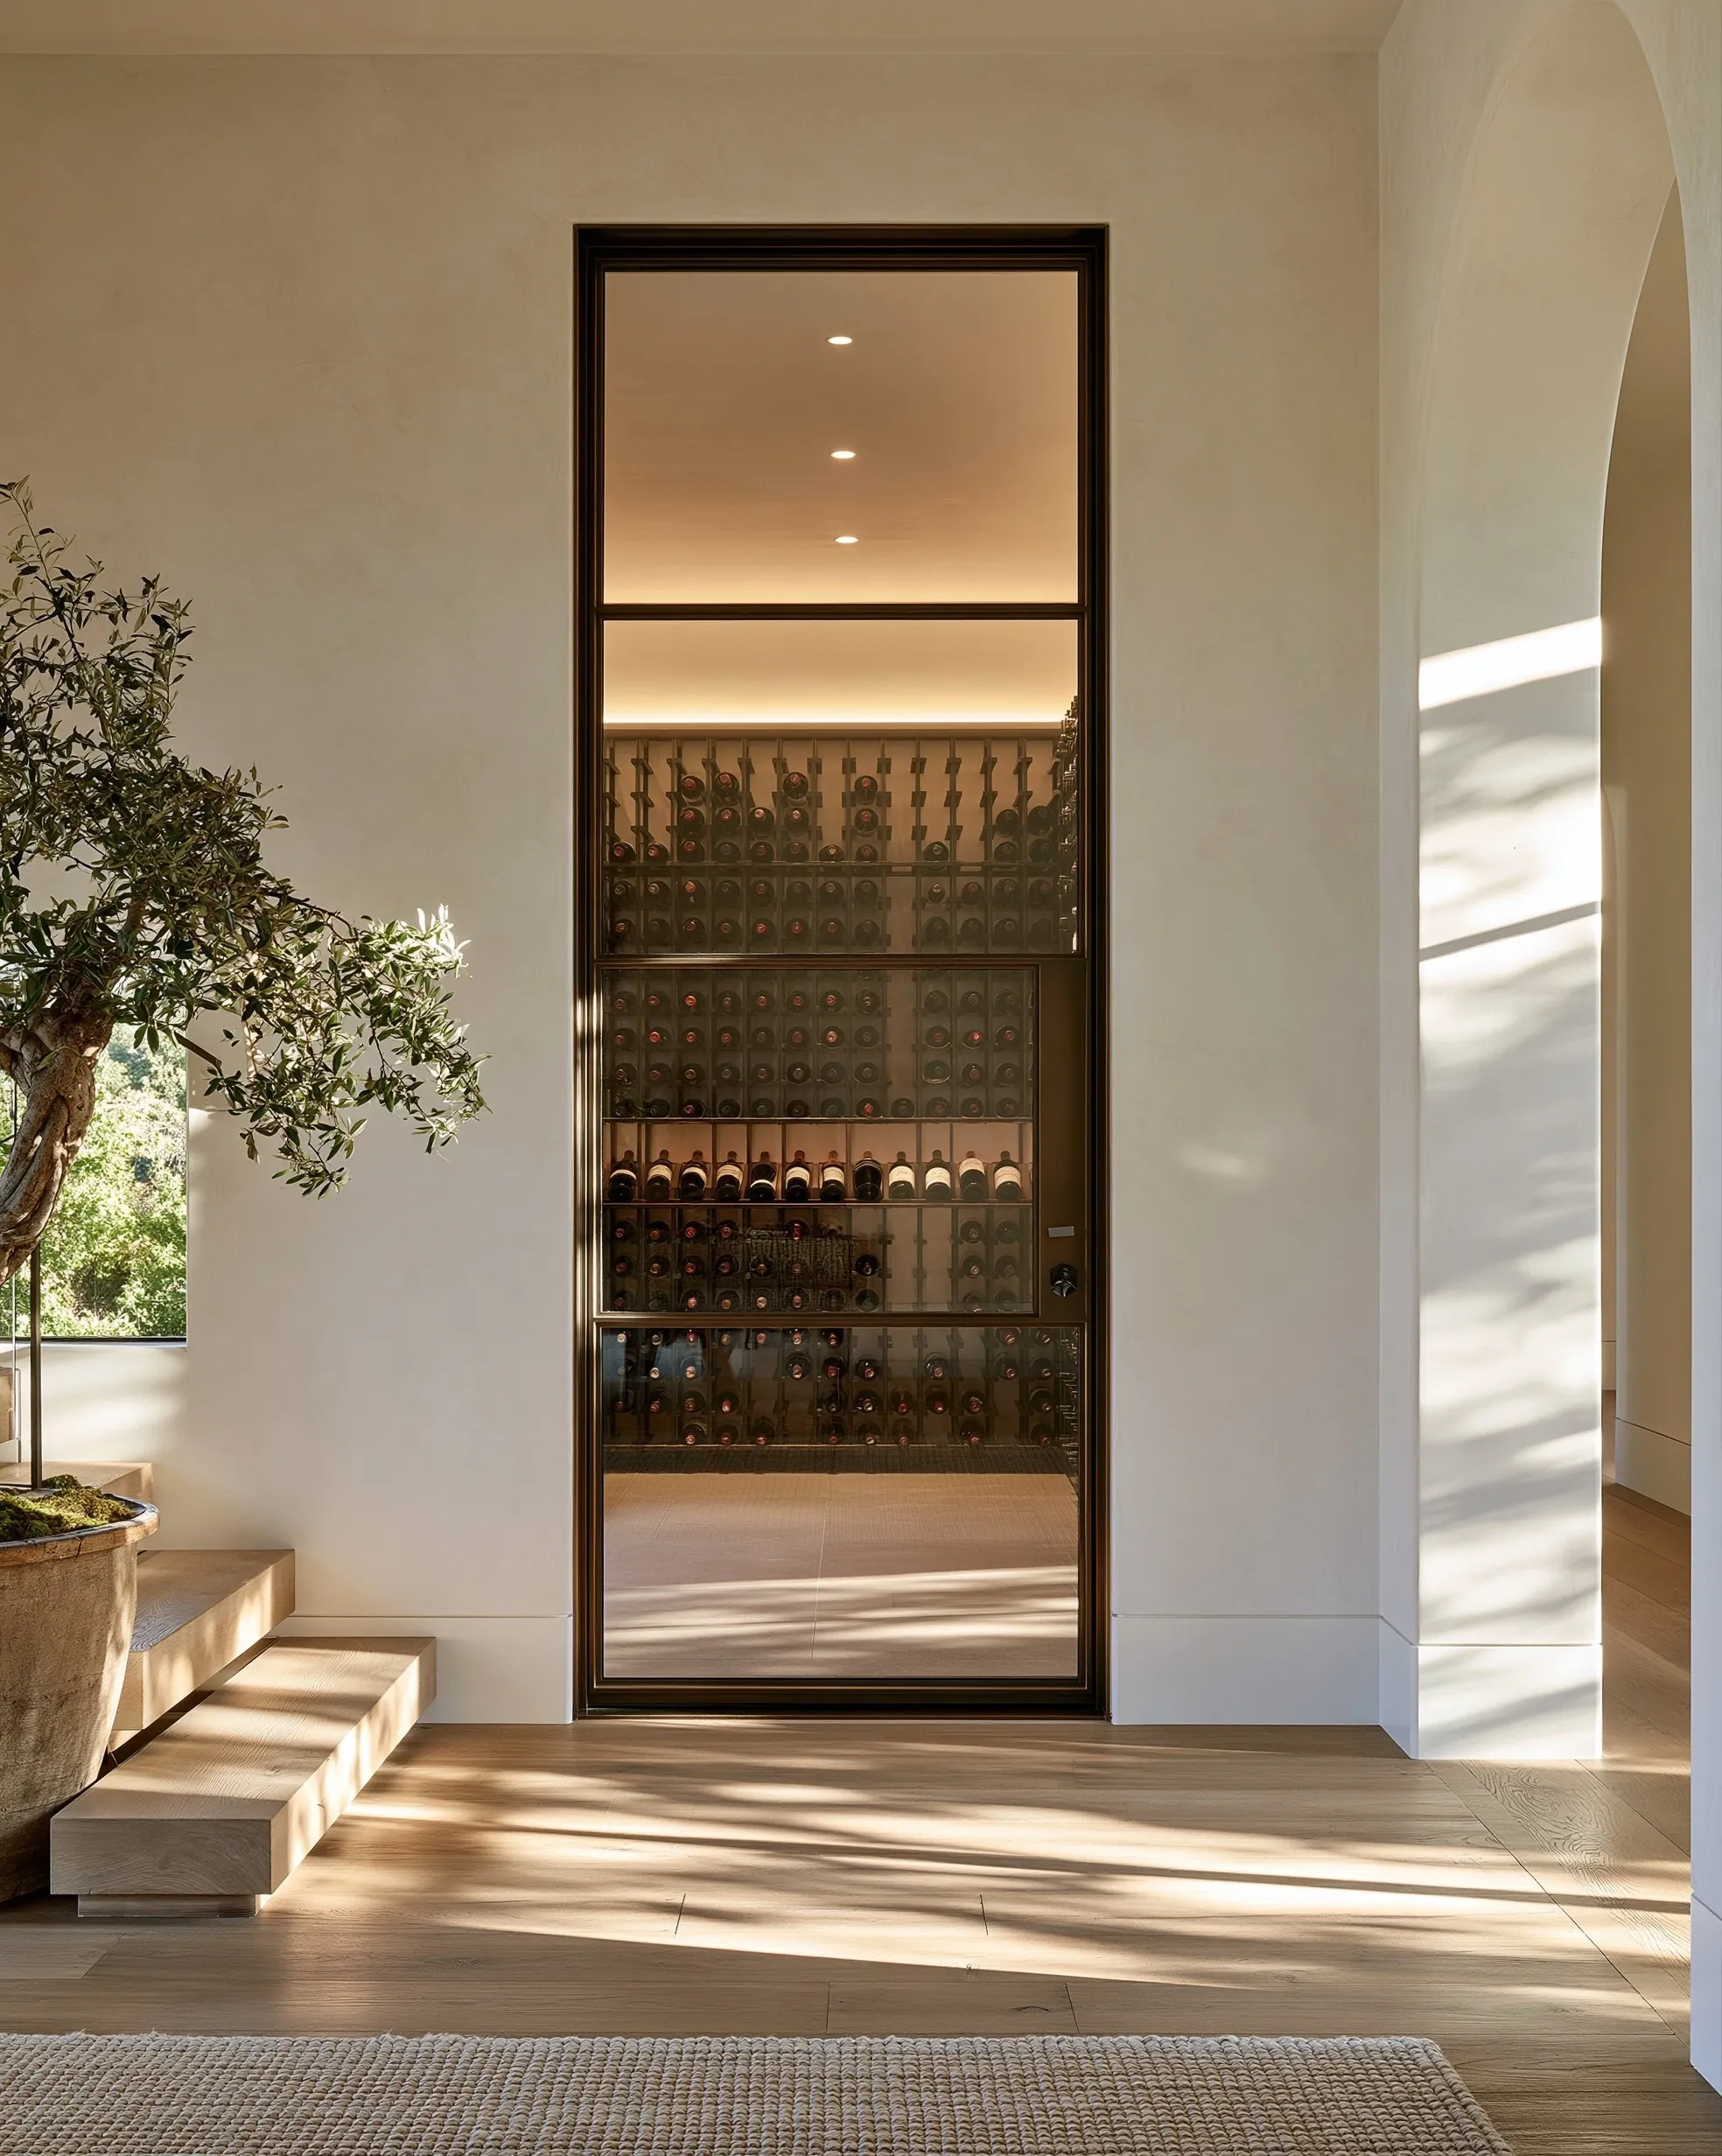
Tall dark-framed glass door into a lit wine room, set in a pale plaster hallway
Dark-framed glass cellar door
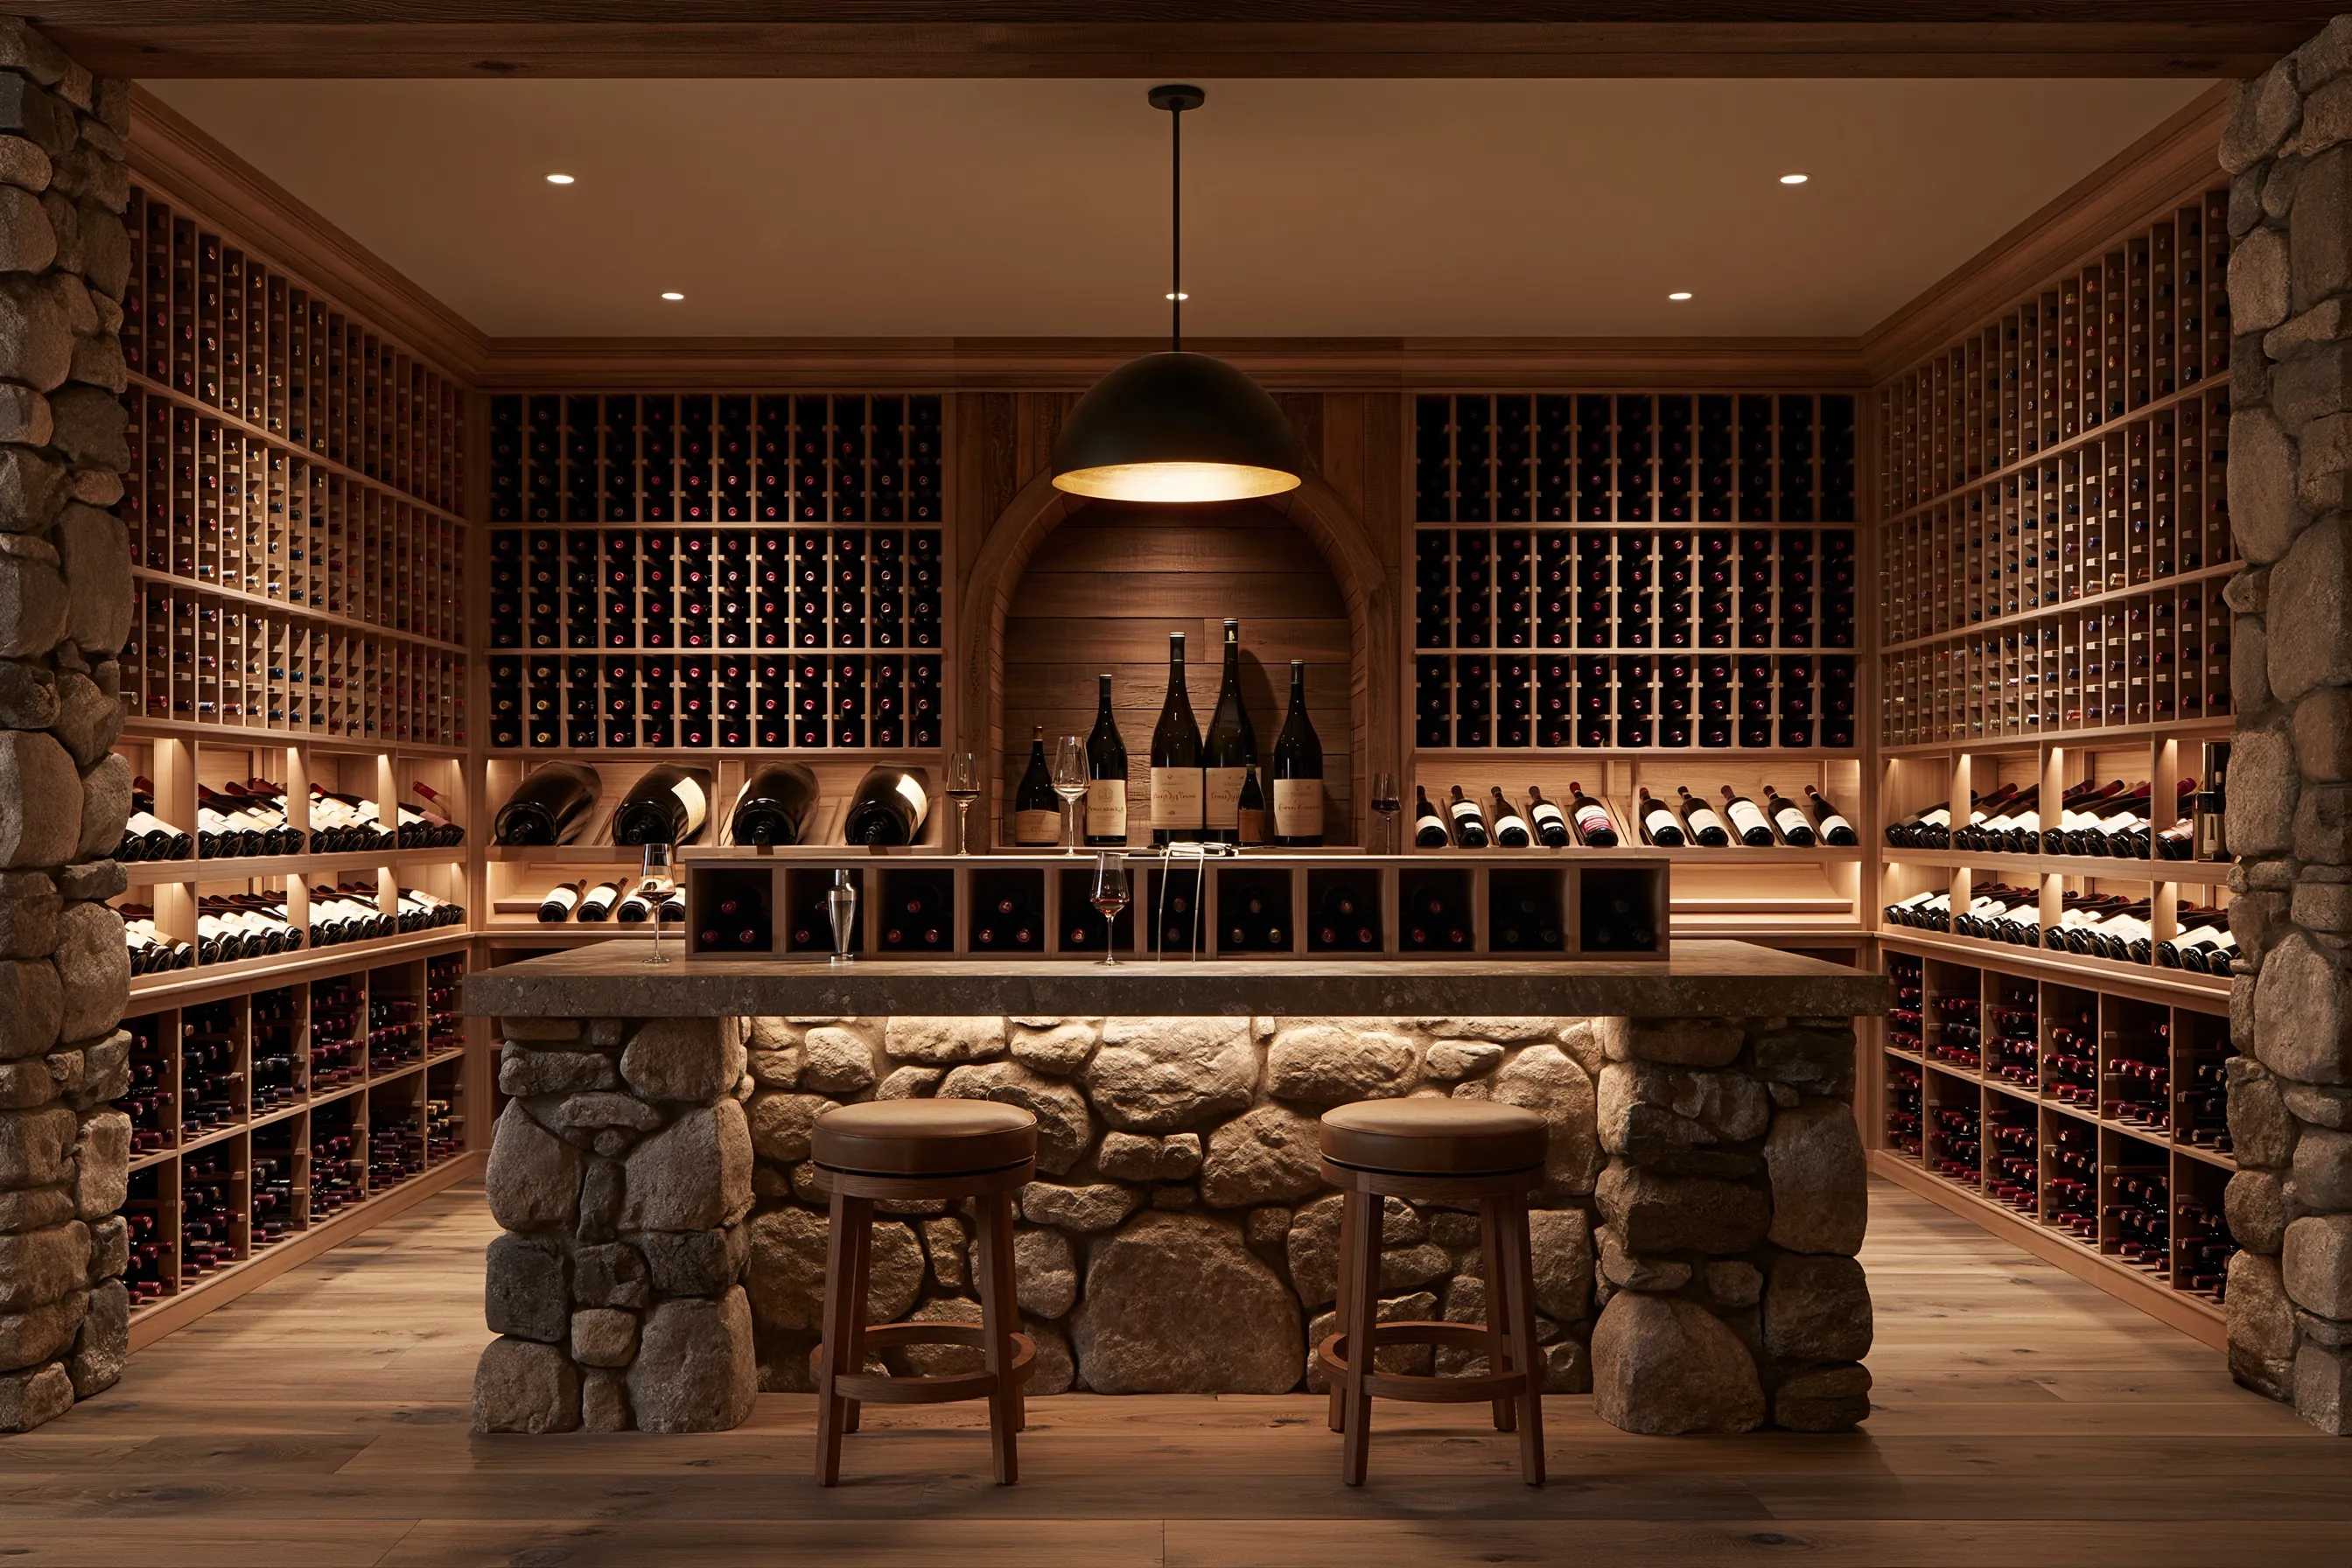
Walk-in cellar with wood racking on three walls, large bottles in a central niche and a stone-faced tasting counter with two stools
Walk-in cellar with a stone tasting counter

Wine walls, racking and cooling

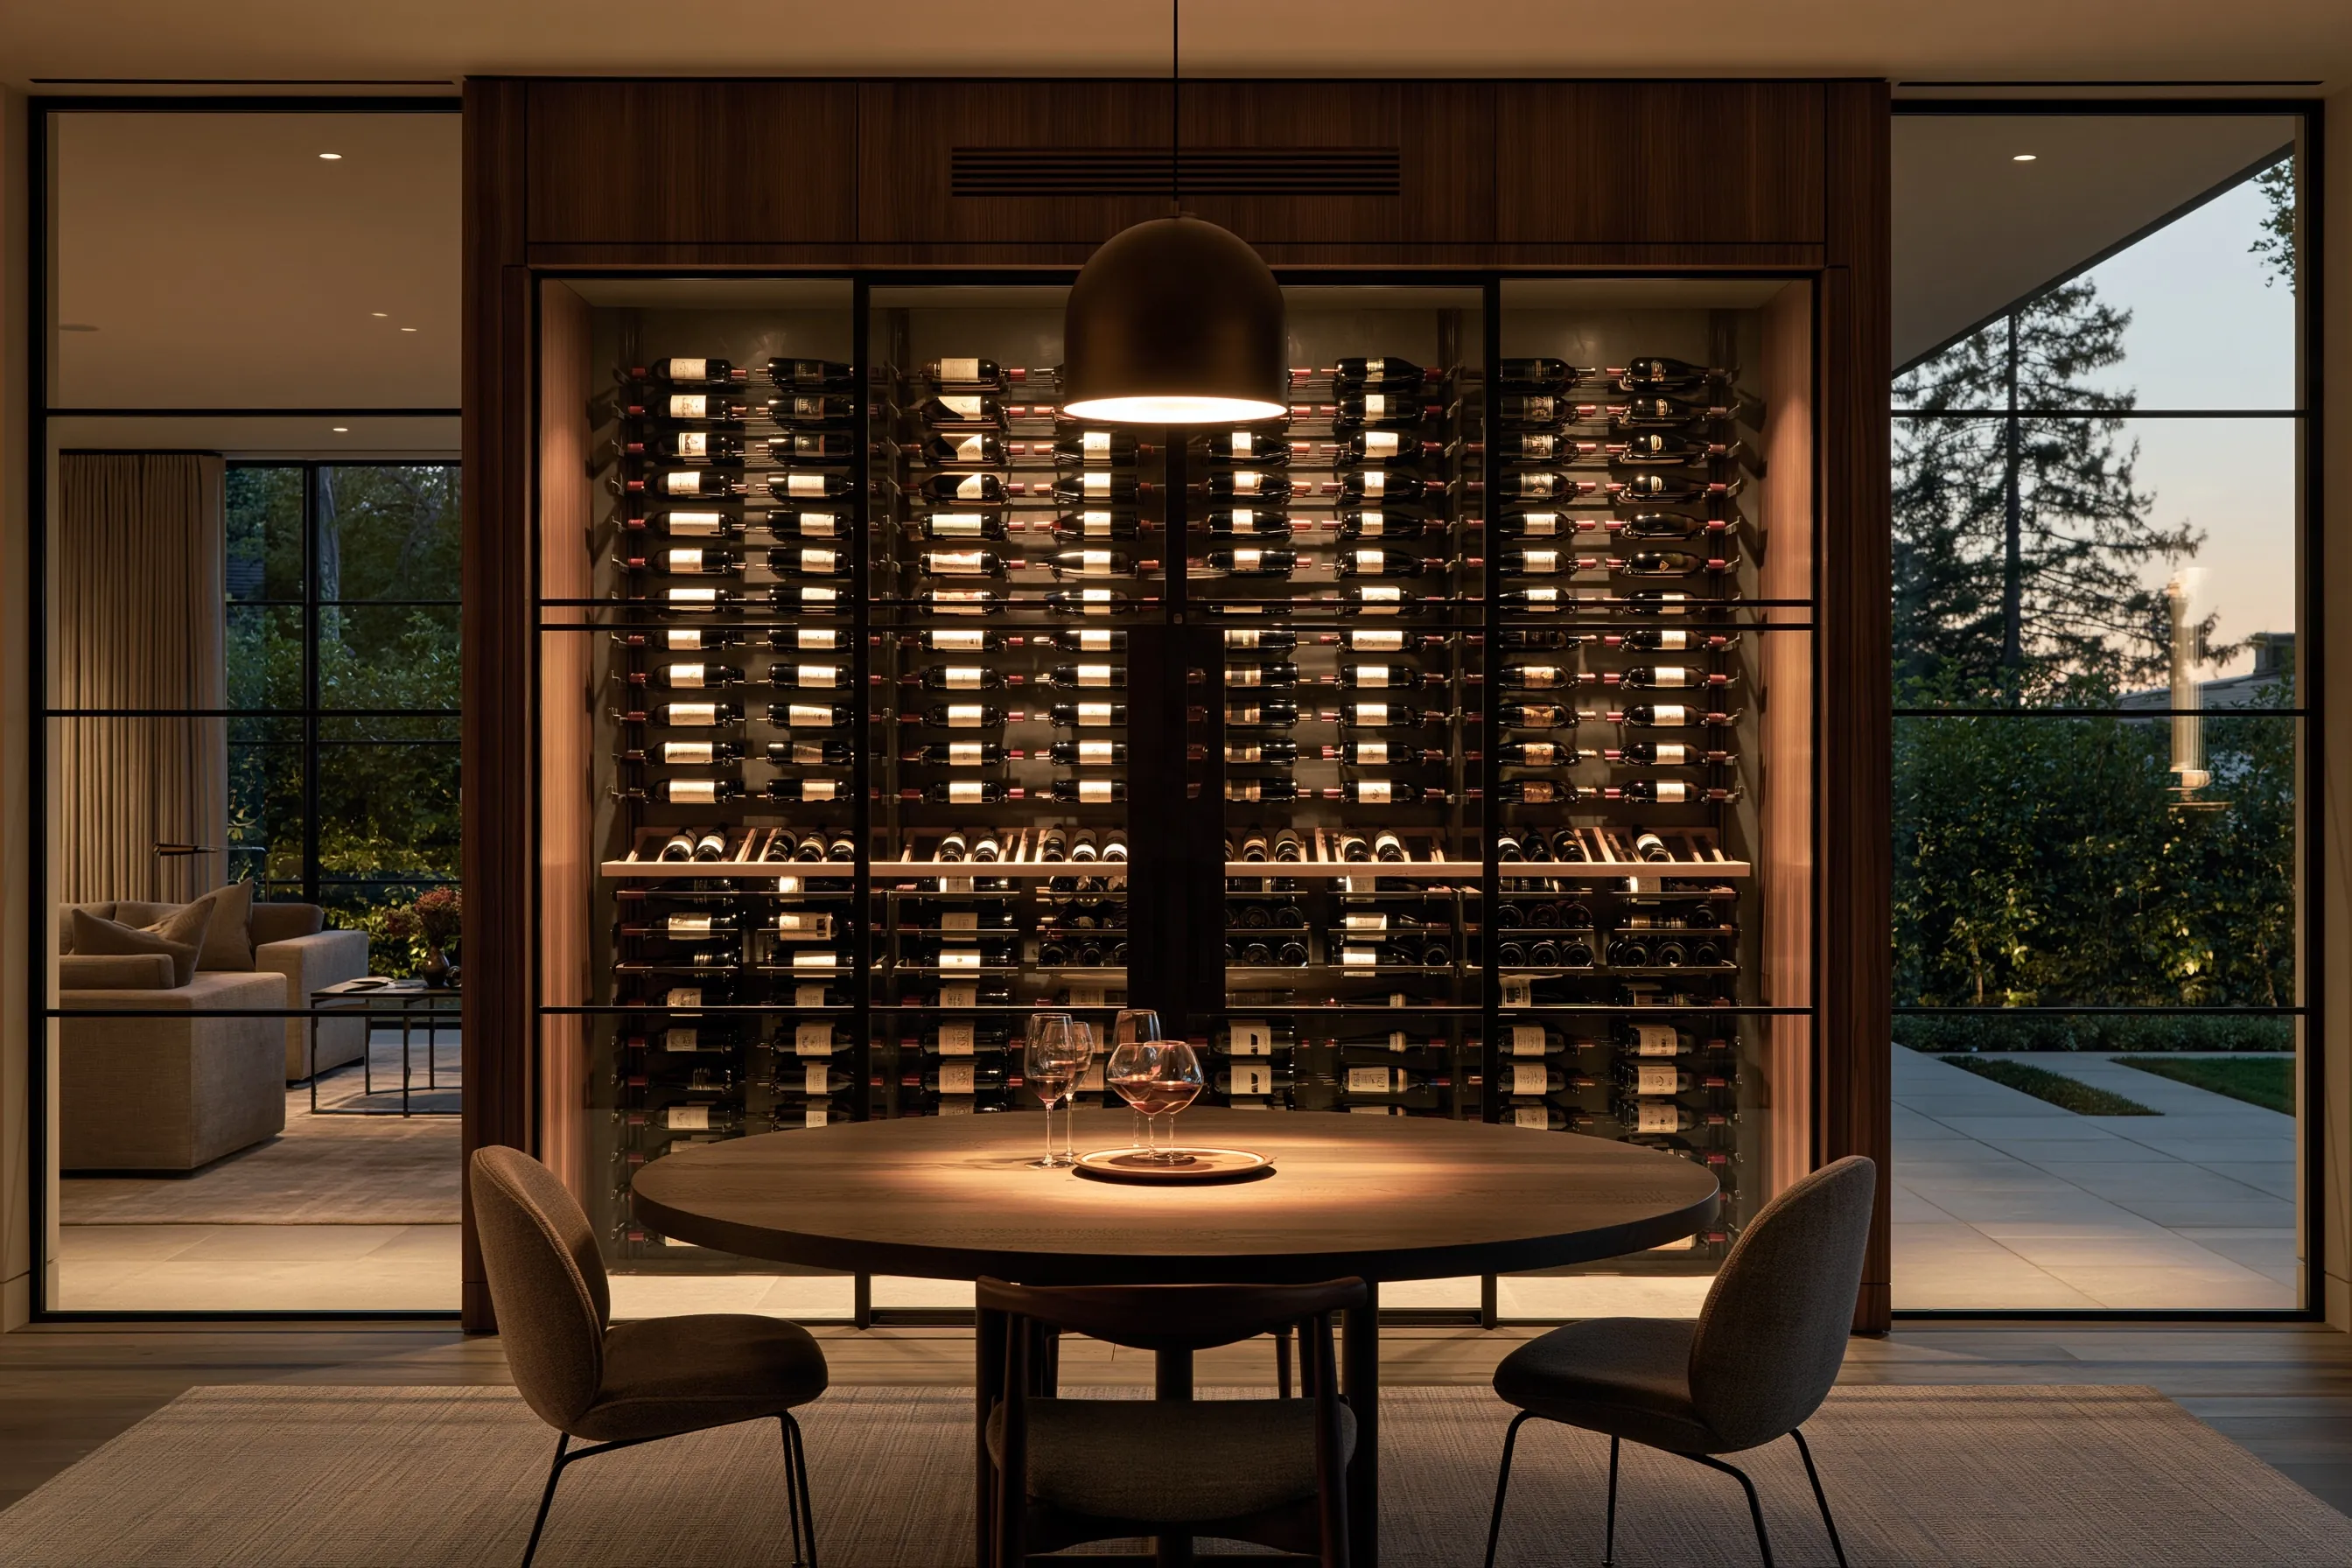
Glass-fronted wine wall with metal peg racking in a walnut surround, behind a round dining table under a pendant lamp
Glass wine wall in a dining room
Bottles held on black metal pegs against a textured plaster wall, washed by a concealed LED strip
Label-forward pegs on plaster
Close view of light wood individual bottle slots beside a diamond bin stacked with bottles
Individual slots and a diamond bin

Request a free wine cellar quote

Tell us which example is closest to what you have in mind, which room it would go in and where the house is. We'll get back to you soon with an estimate or any questions we have. Estimates are free and there's no obligation.

Call (425) 699-8428

Call (425) 699-8428